Kiln Building: Part Two
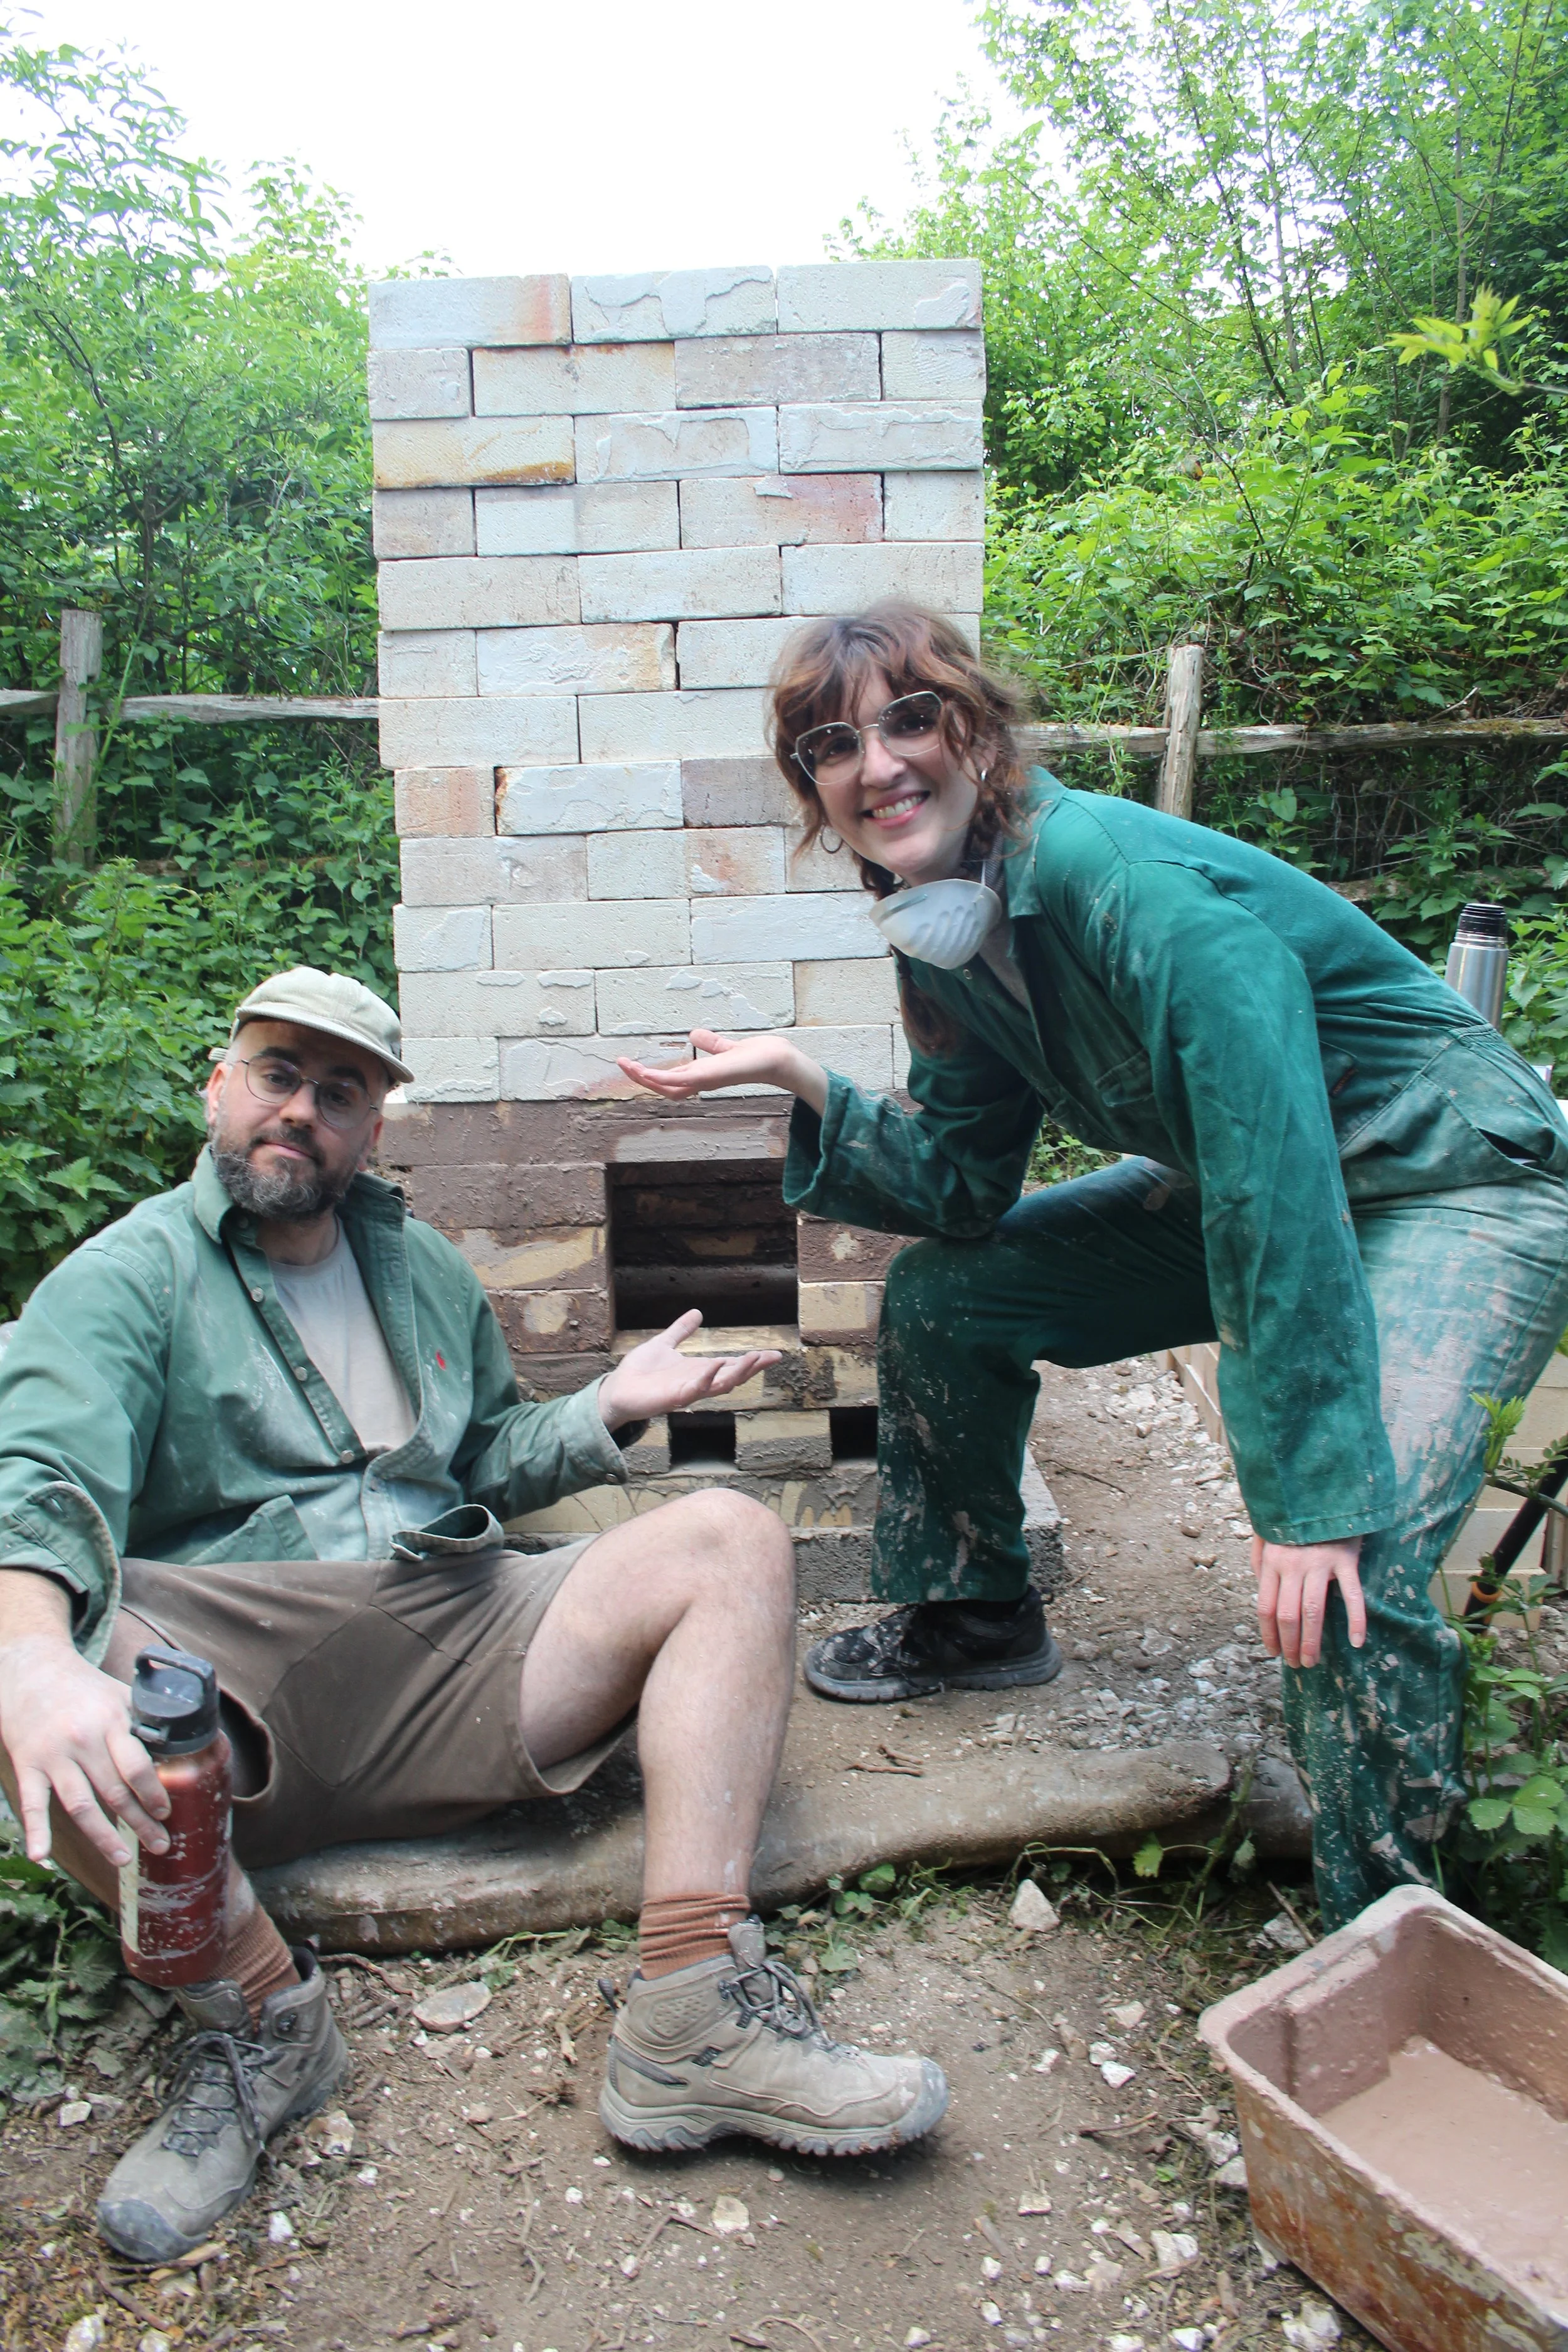
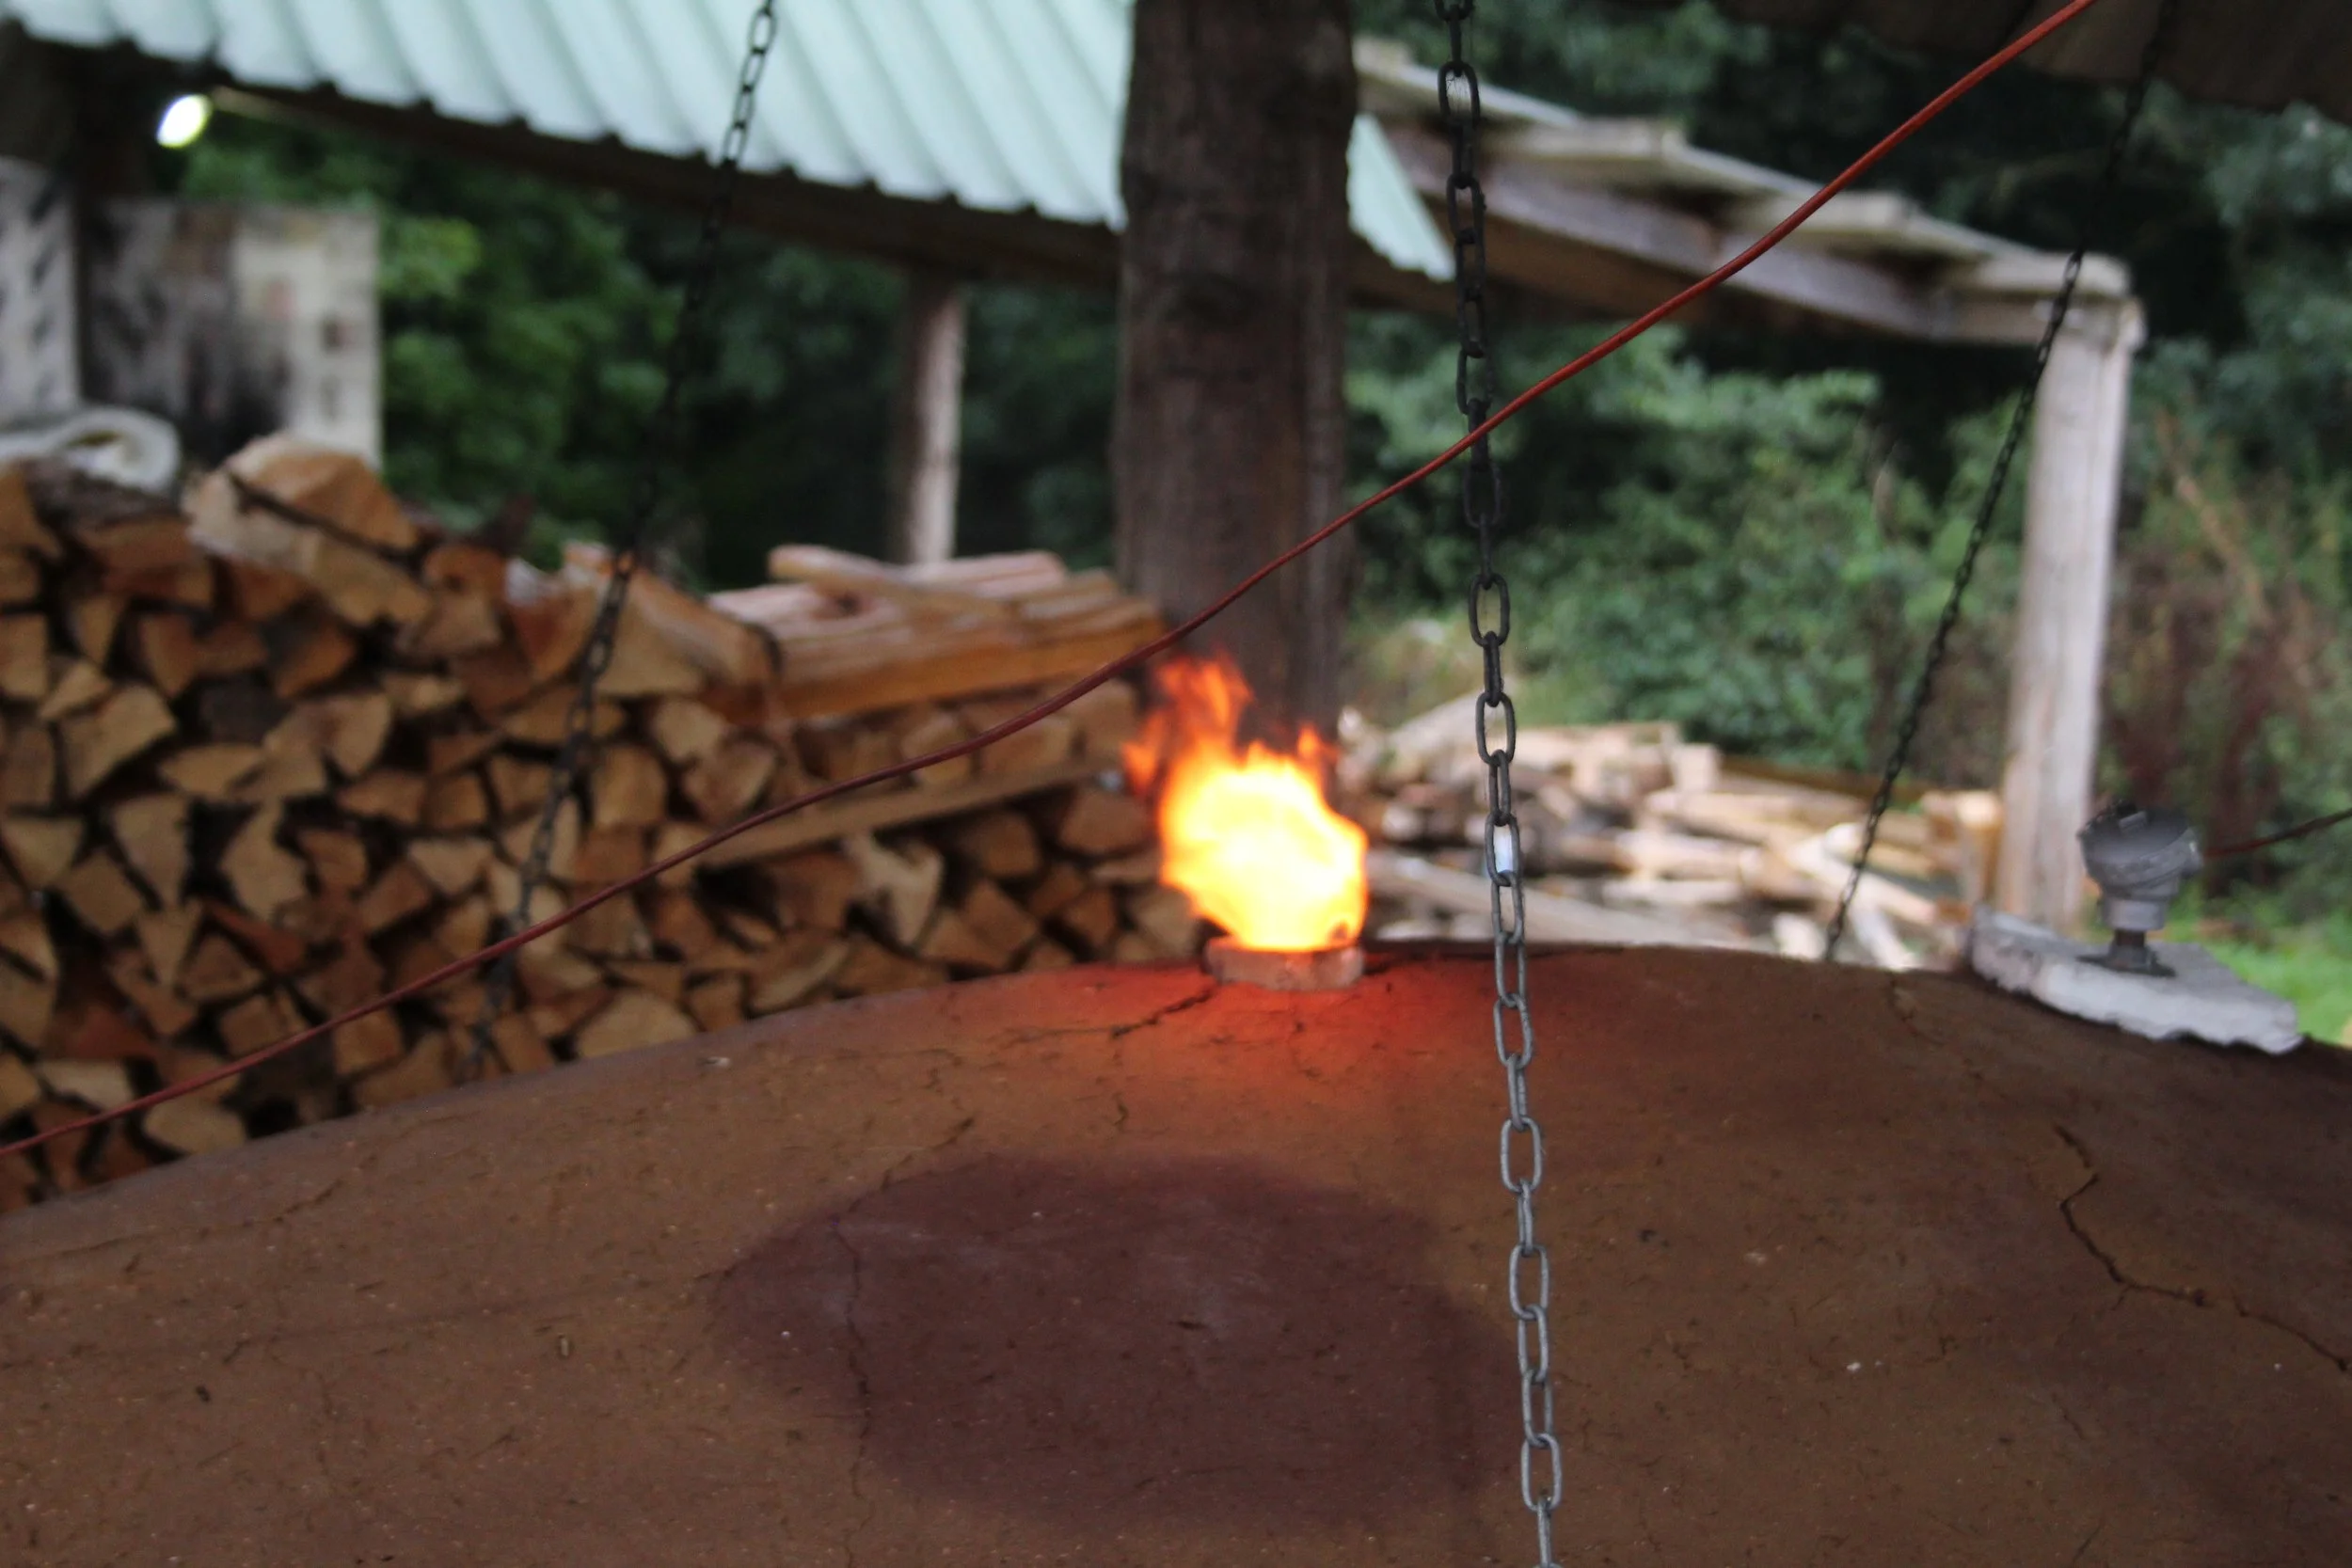
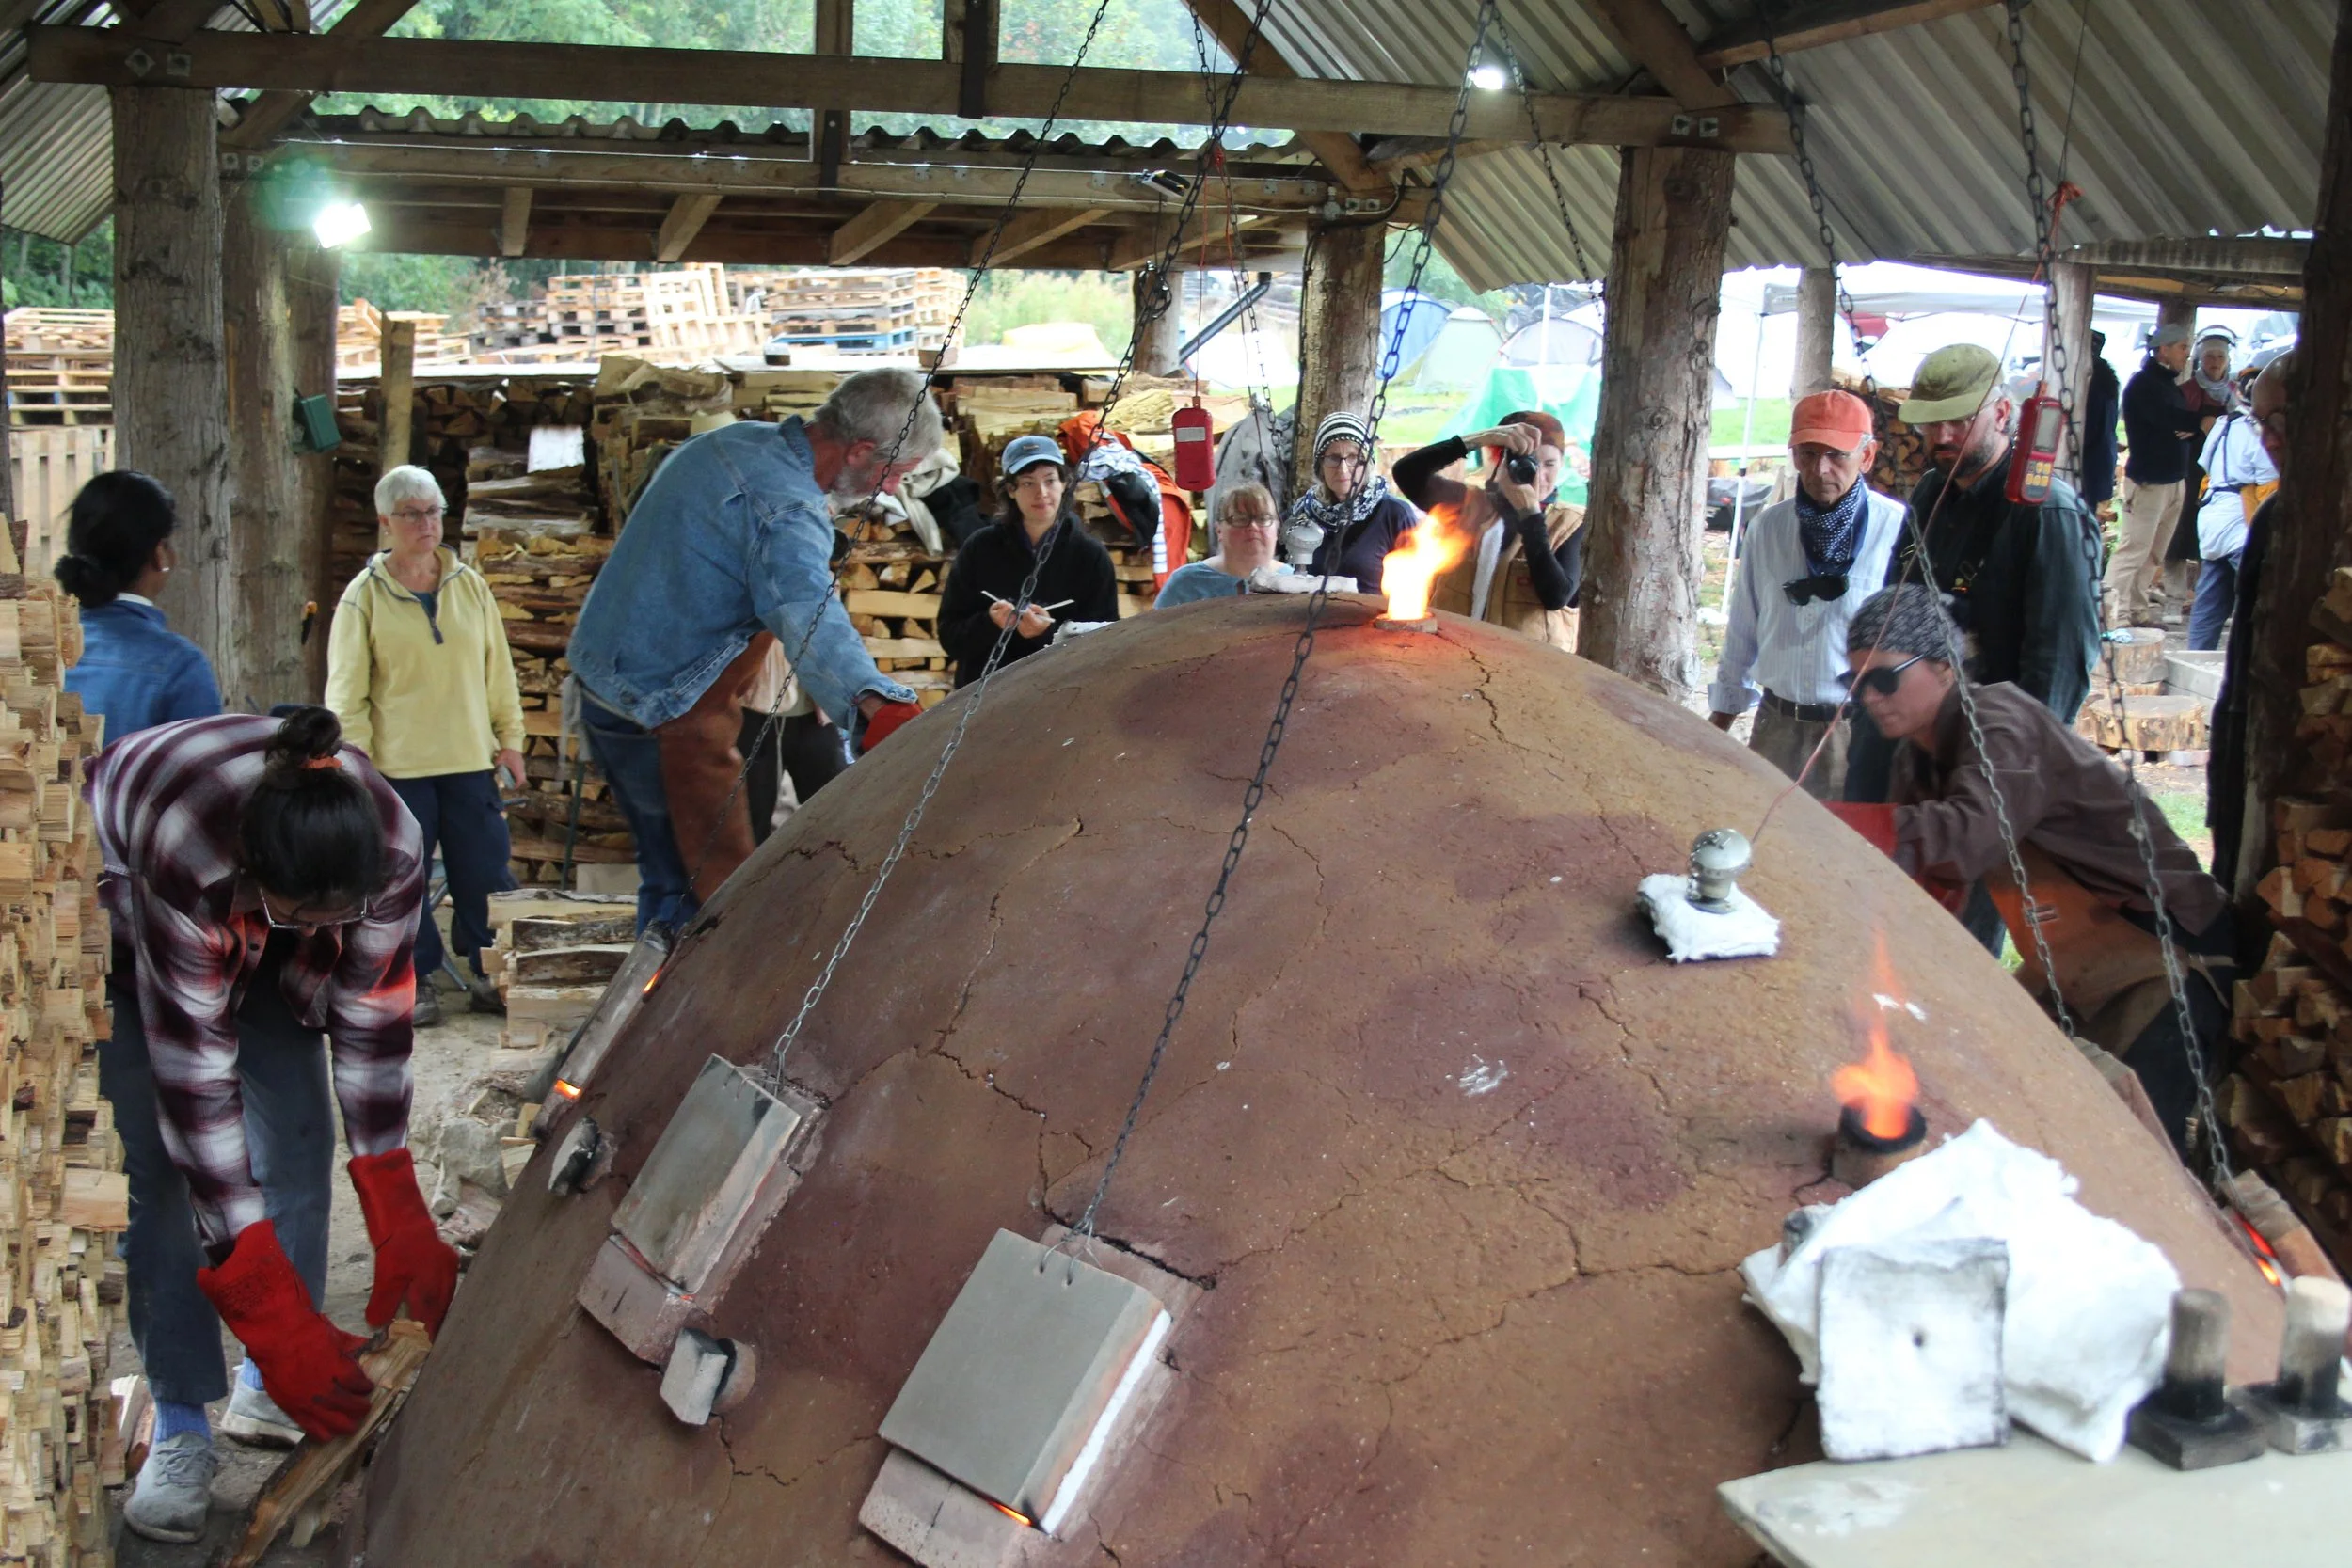
In May 2025, two months after building kilns for the very first time in Oxford, I got the call from Jack to hurry down to Brighton and join him and Pippa (another friend from our Oxford kiln course) build another fast fire kiln at the Ecomusicology Project, based at Stanmer Organics.
Brighton is my home town, but I am a little out of the loop since I haven’t lived there in 17 years. I had never been to Stanmer Organics, which is where the Ecomusicology Project is situated. It’s a wild area divided into plots near Stanmer Village. The plot is run by Graham, who has quite the job on his hands of keeping the whole thing running with the help of volunteers.
Graham had been lucky enough to procure a whole load of used pottery equipment from Freecycle, including soft kiln bricks, shelves, furniture and a gas kiln (truly an exceptional haul)! And the rest of the materials were sourced by Jack.
We set about doing the whole build in one day, and the first part of the day was spent simply lugging bricks from our cars onto the site. The next part of the day was building!
It was excellent to repeat the process we has learnt, and without too much time passing so that our minds were still attuned to the process. We all had pictures and notes to refer back to, which came is handy!
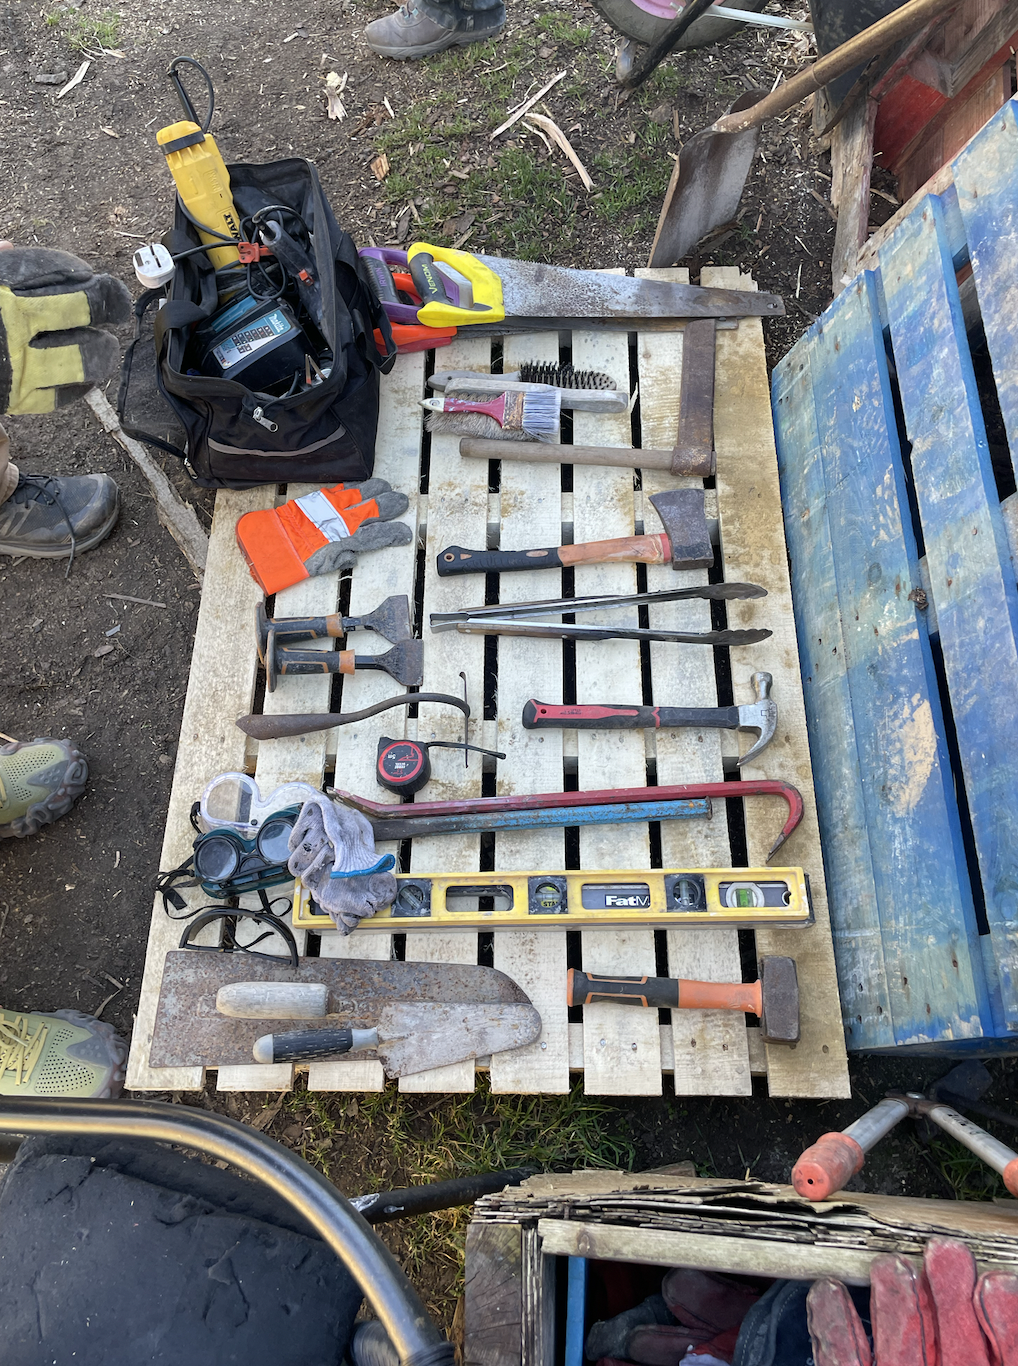
The whole build was fairly smooth going but we did run into a few issues. Firstly, we did not have an angle grinder. Or rather, we did, but we couldn’t change the blade. Eventually, we unstuck the blade and it was possible to change it HOWEVER, we didn’t have the correct blade for cutting bricks. This resulted in a lot of time spent trying to split bricks with a chisel.
Another problem was that Jack hadn’t ordered quite enough fireclay for the mortar. This turned out okay though, as he simply asked our mentor Claude the best solution and Claude suggested just using any old reclaim as a substitute. We used Reduction St Thomas reclaim from Jack’s studio, a pricey material, which was a bit harder to mix as it wasn’t in powdered form but ultimately did the job.
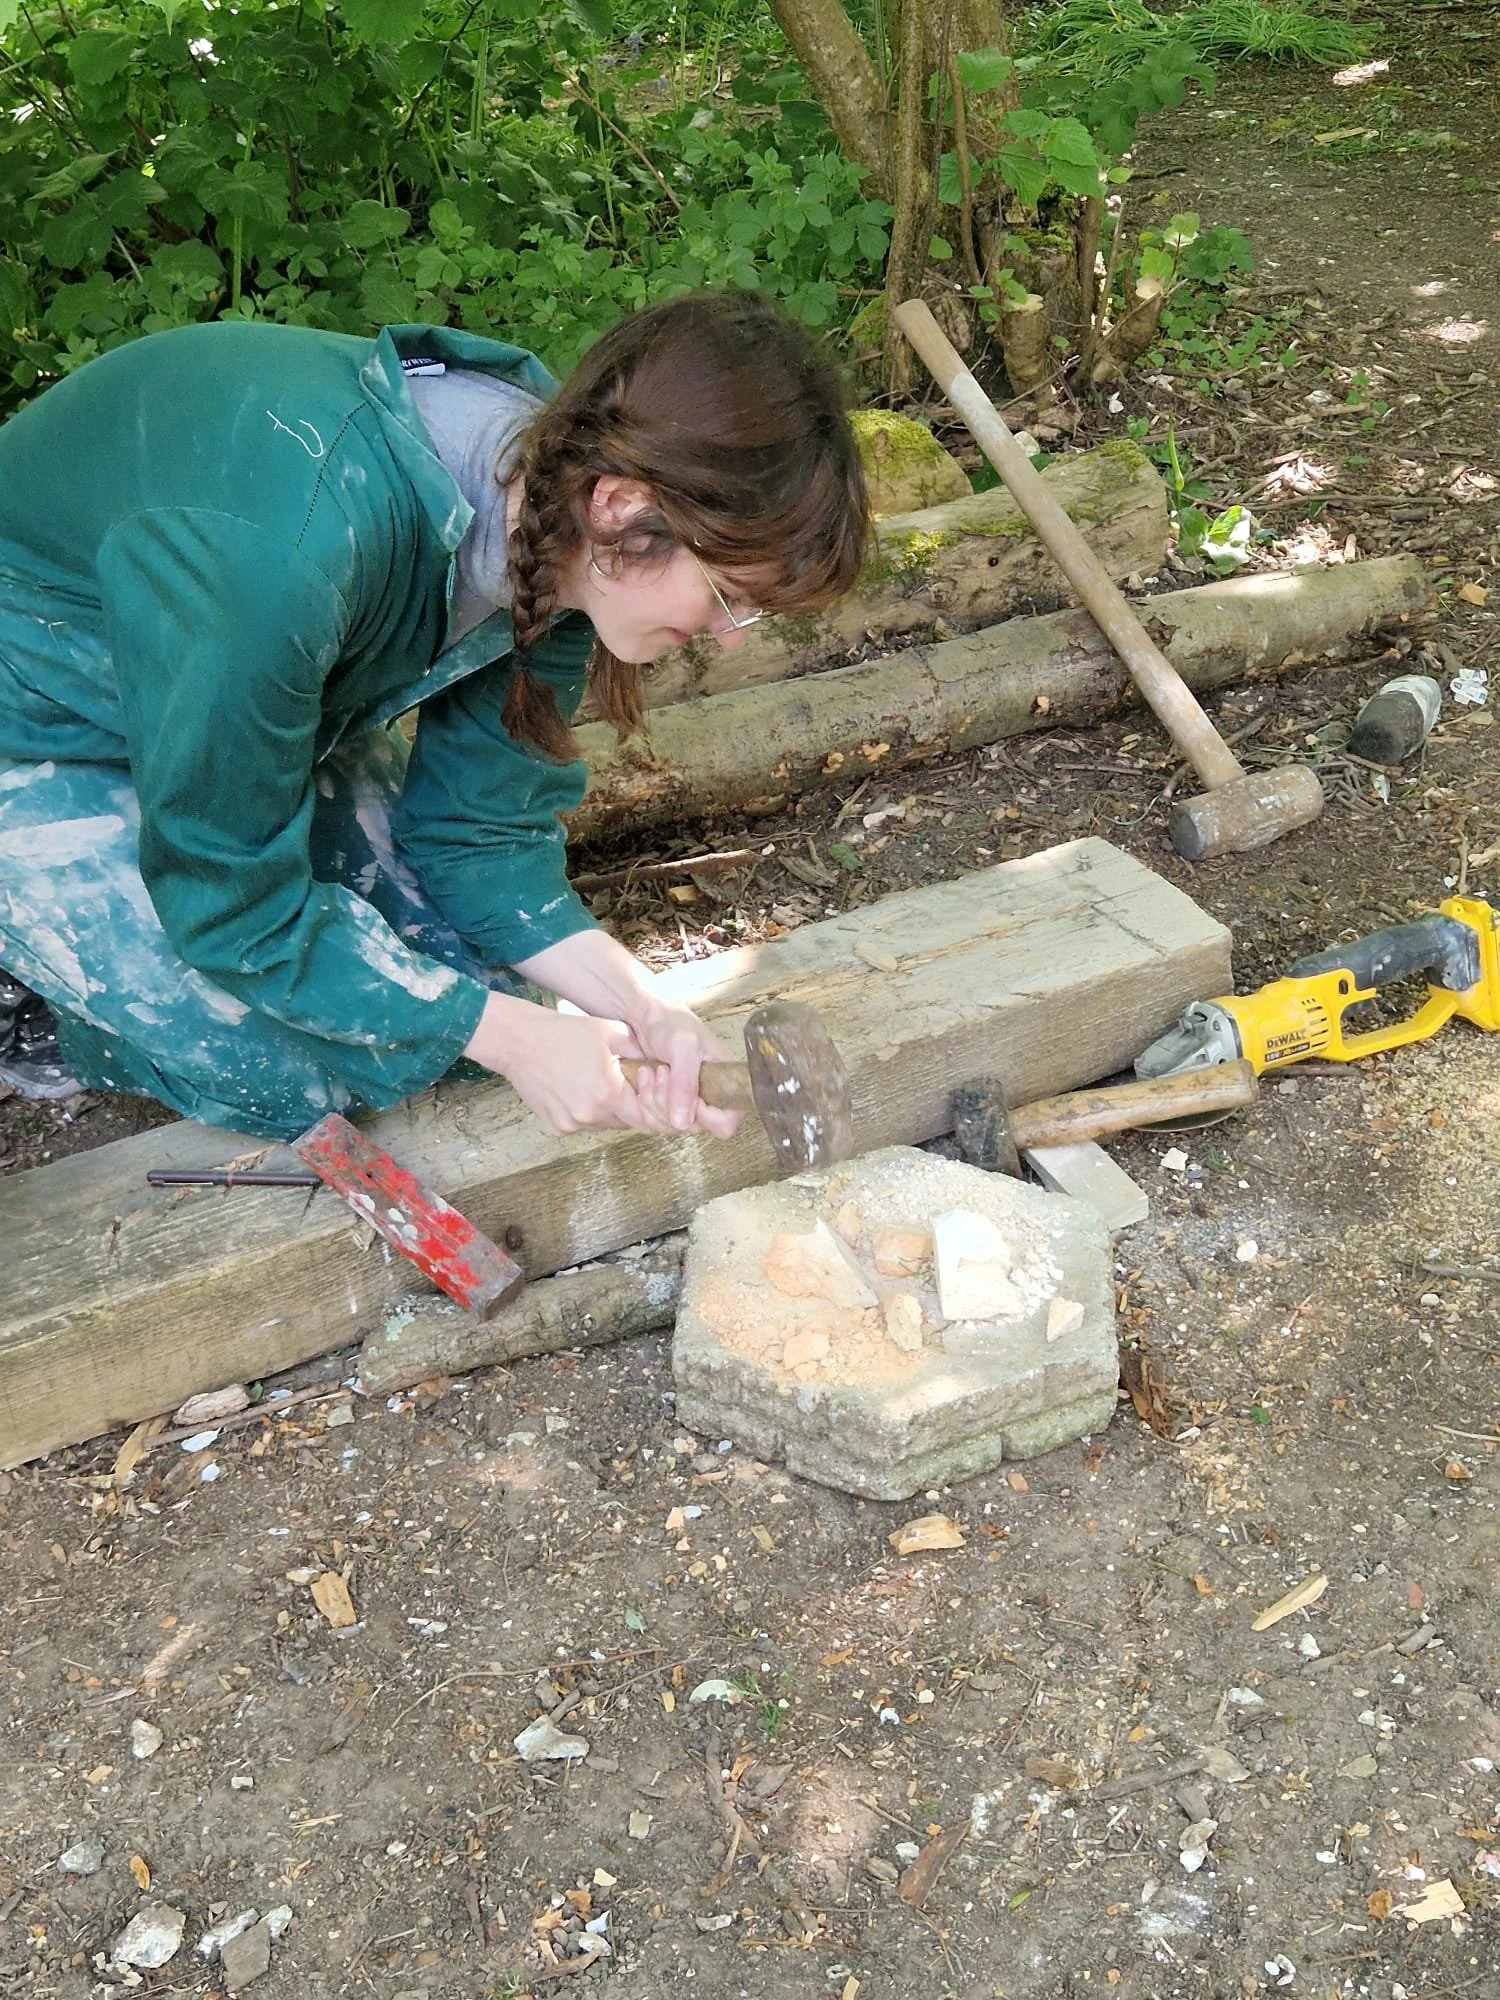
The next challenge came when Pippa realised the sand we were mixing into the mortar was building sand and not silica sand. This was a problem as there was a rick that the sand we were using could explode when reaching the high temperatures necessary for wood firing. So, I suggested we break up some of the kiln bricks into grog and mix that in instead, which resulted in me crushing bricks on a stone in the woods like early man. See below pic!
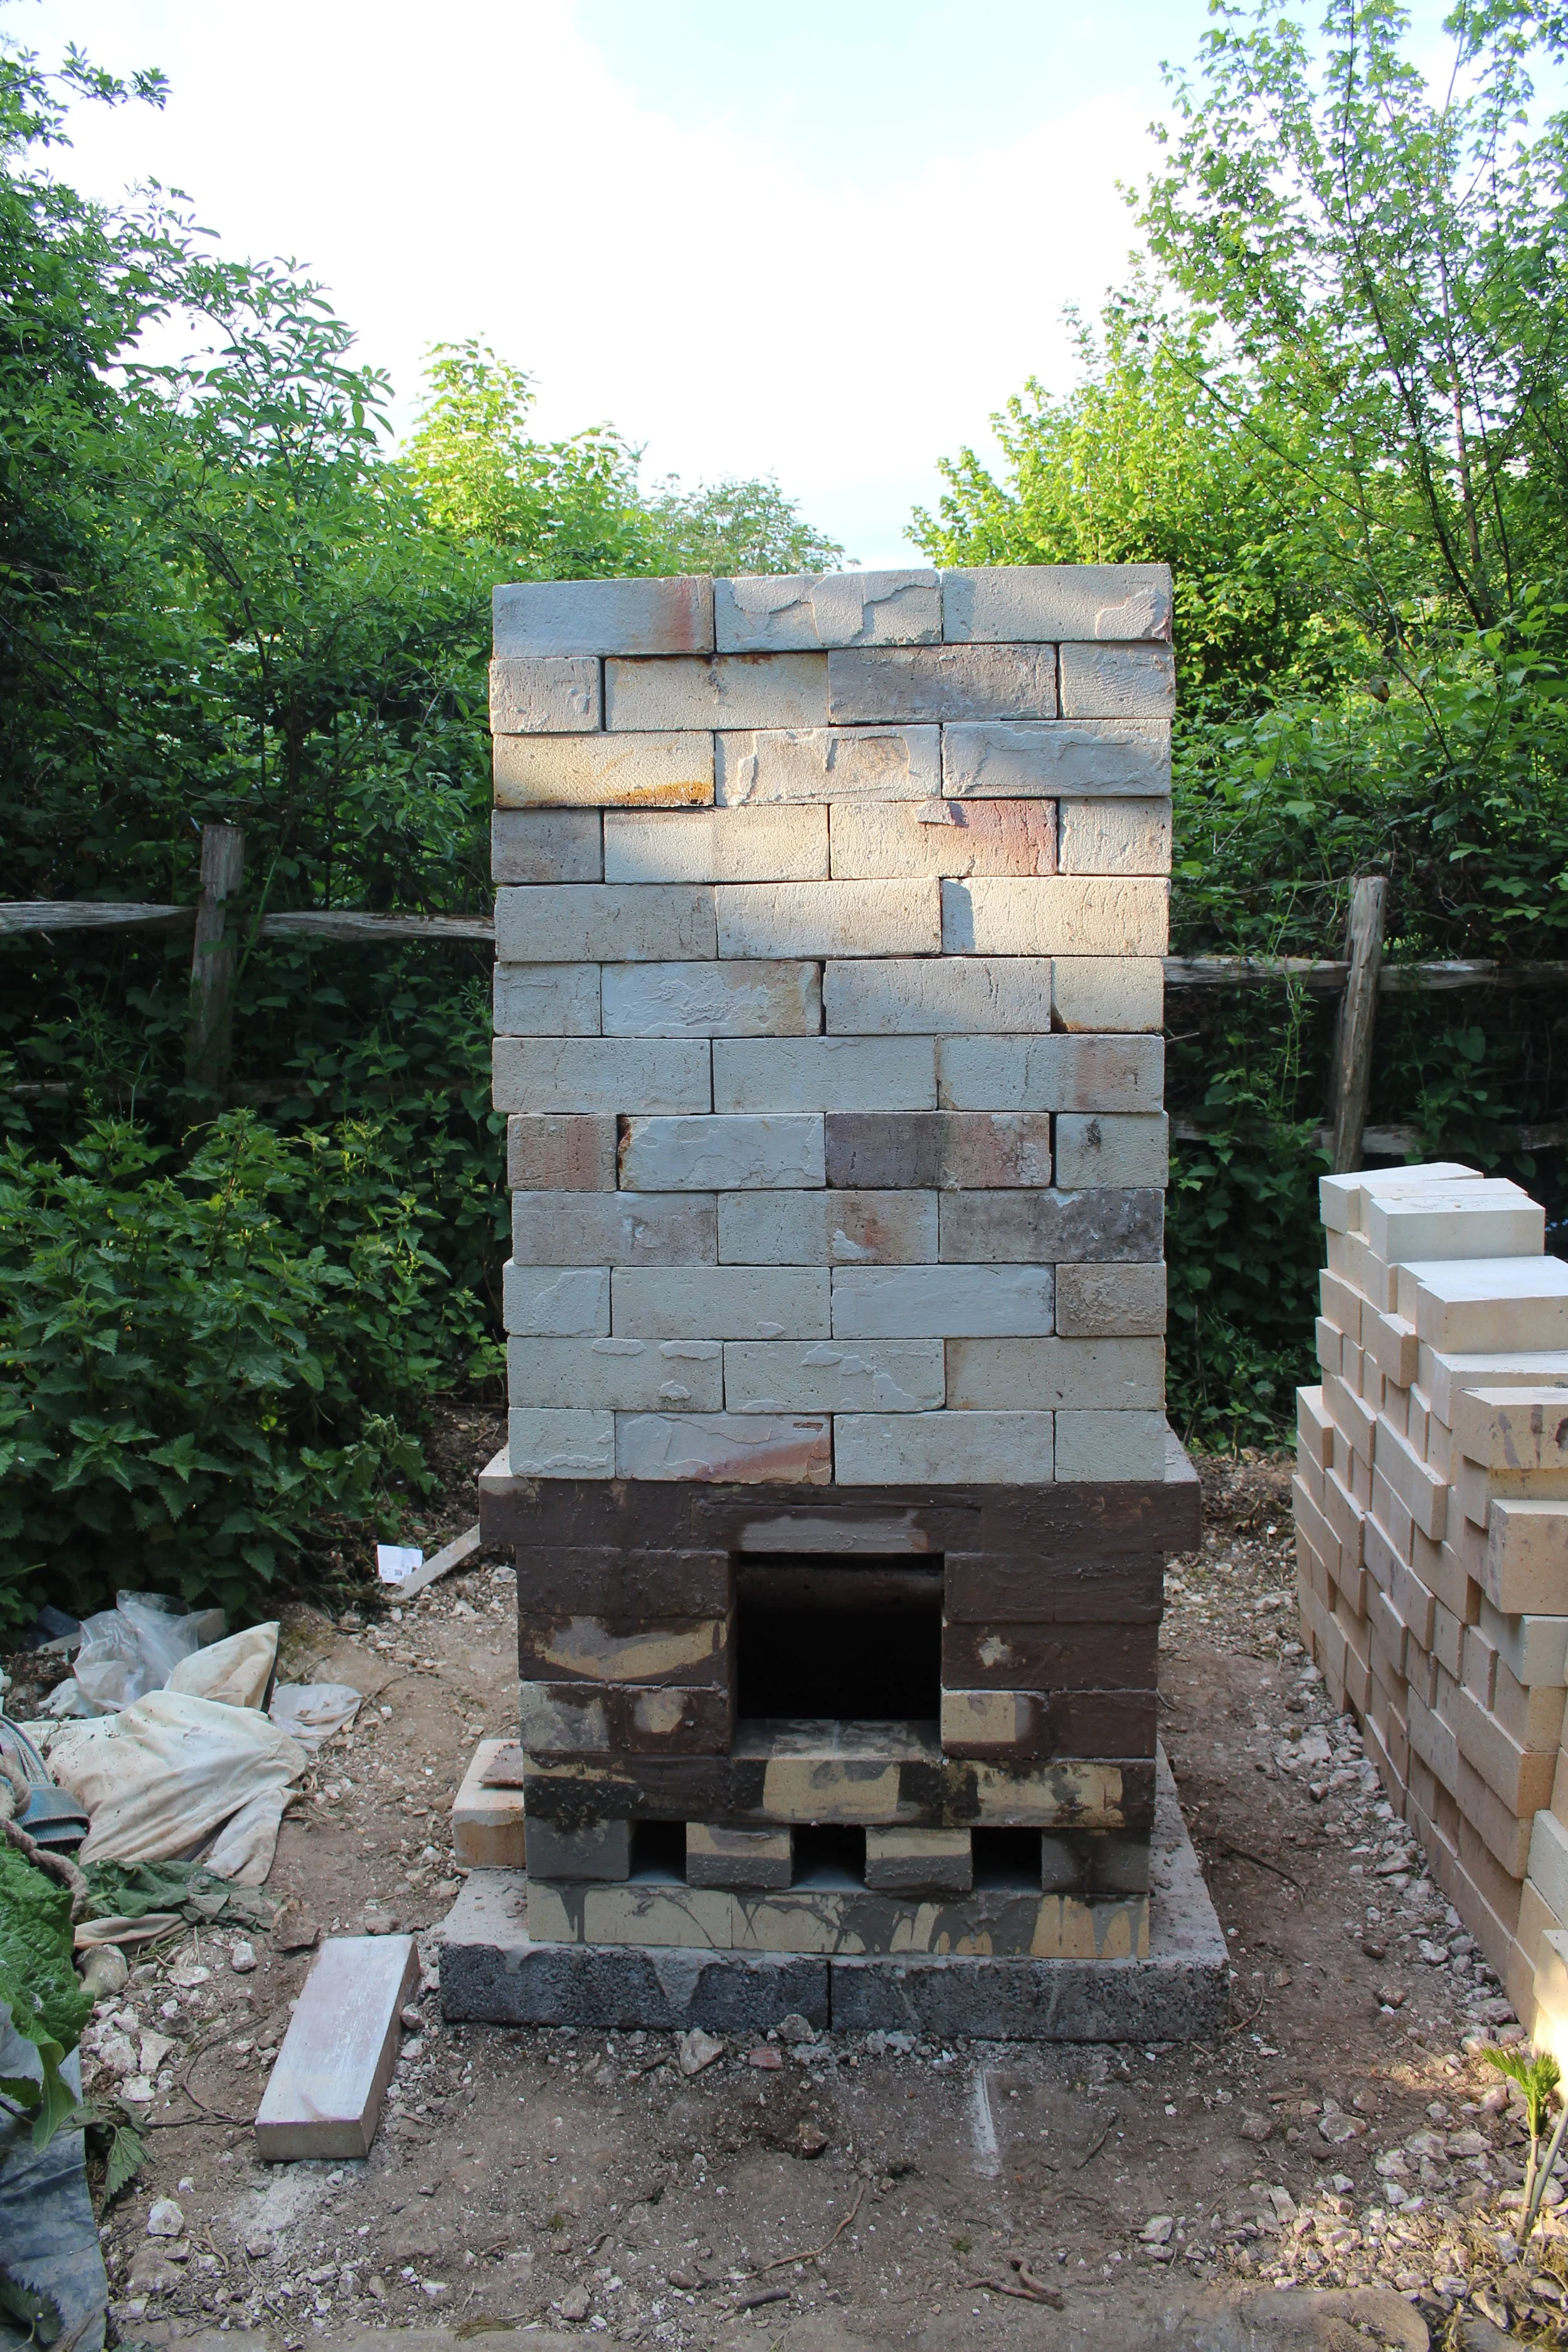
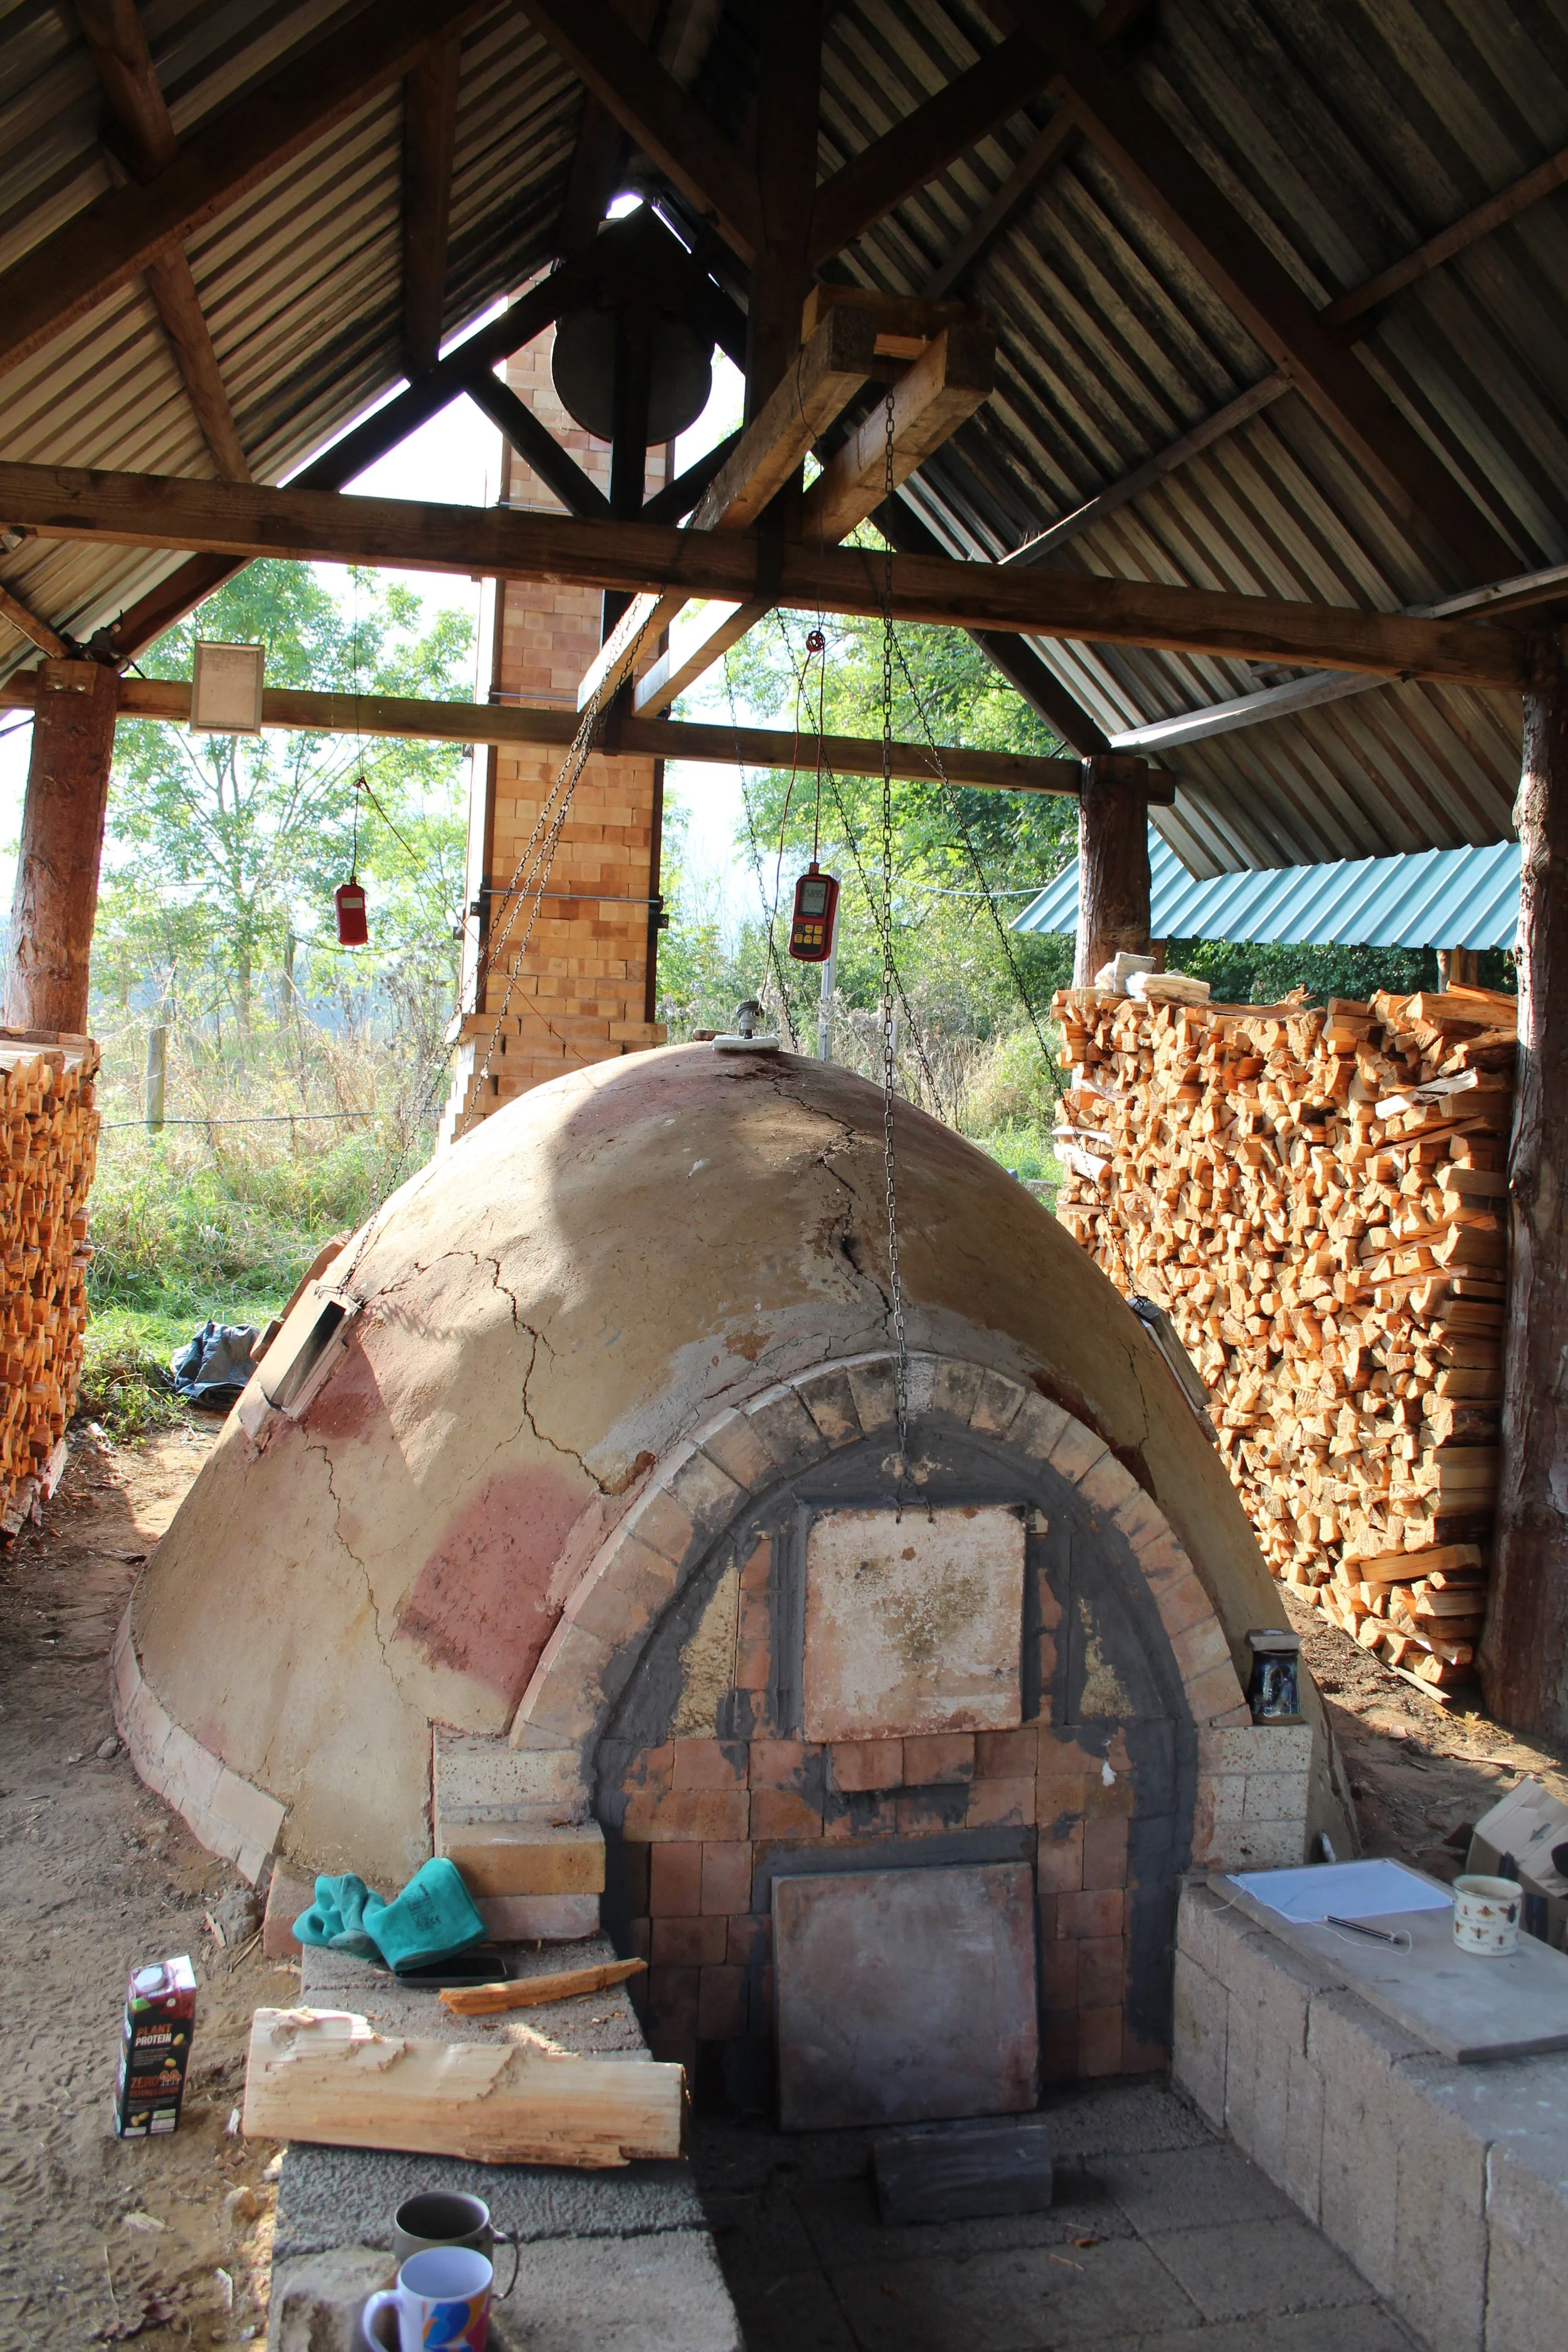
Once the firebox was made, the whole thing came together quickly. We decided to get the structure totally finished off and Jack would finish off the finer details later (spyholes, pyrometer etc) as our collective energy was starting to wain. The kiln looked superb and the following week Jack fired it with great success!
Studio Visit: Jynsym Ong
Whilst in Oxford in March, I had the fortune of visiting Symy Ong, a hugely talented artist, skilled potter and experienced wood firer. I have been an admirer of Symy’s work for a long time, first becoming aware of her as part of the Clay College cohort which included my studio mate Fran Savage, DYCP mentor and BCB colleague Natalia Kaspryzka and many other massively talented potters.
Symy makes works that are both sculptural and functional, her large wood fired vessels remind me of Han dynasty ‘Hunping’ (funerary vessels), skilfully thrown and adorned with hand built decoration depicting figures, Koma Inu (lion-dogs) and pagoda-esque buildings. They feel like lost artifacts that don’t belong to any one time or place specifically. In addition, she also makes beautifully crafted gas-fired tableware, which really demonstrate her precision and skill.
Symy welcomed me into her beautiful studio and over tea and satsumas we spoke about her time at Clay College, apprenticing in Japan, the trials and tribulations of wood firings and many other topics. I was so grateful that she allowed me to enter her workspace and talk with me, I find it so nourishing meeting other potters and being able to delve into their experiences. Symy showed me around her studio space, and took me through the corridors which lead to her electric kiln, archive storage, gas kiln and materials area. Walking around her space gave me a feeling of her day to day life of creating work in her studio and I loved every second.
Kiln Building: Part One
In March of 2025, I returned to Wytham Woods to take part in a kiln building course lead by Master kiln builder Claude Aussage. This time, I felt a little more confident returning to the site having spent a week there in September, and it felt familiar to walk the path up from the car park, past the giant wood piles over to the kilns.
Meeting everyone partaking on the course was a real pleasure, but I was most glad to see my friend Jack Smith, with whom I had stoked the Svend Bayer kiln from 2am - 6am back in September.
Claude spoke to us initially about the role of a kiln designer/builder - which is to fulfil the client’s requirements. For these kilns that we were building there were numerous specifications. We were to replace the three existing fast fire kilns. And by fast fire kiln I am referring to a small, top-loading, down-draft, wood-firing kiln than can be fired in a day. I won’t go too much into the specifics, as there are much better resources available. These kilns are sometimes referred to as ‘Philosopher’s Kilns’ ( see the book by Steve Mills) or ‘Olsen Kilns’ after Fred Olsen, though I actually think the one we built was not quite the same as the Olsen design.
The first job was to take down the existing kilns and analyse them - what information could we glean from looking at how they had deteriorated or been damaged. How did they compare to each other and what did the firing records tell us about their performance? We split into three groups and dismantled these three kilns, preserving as many bricks as possible in the process - we were lucky that the majority of the soft bricks were still in a usable condition.
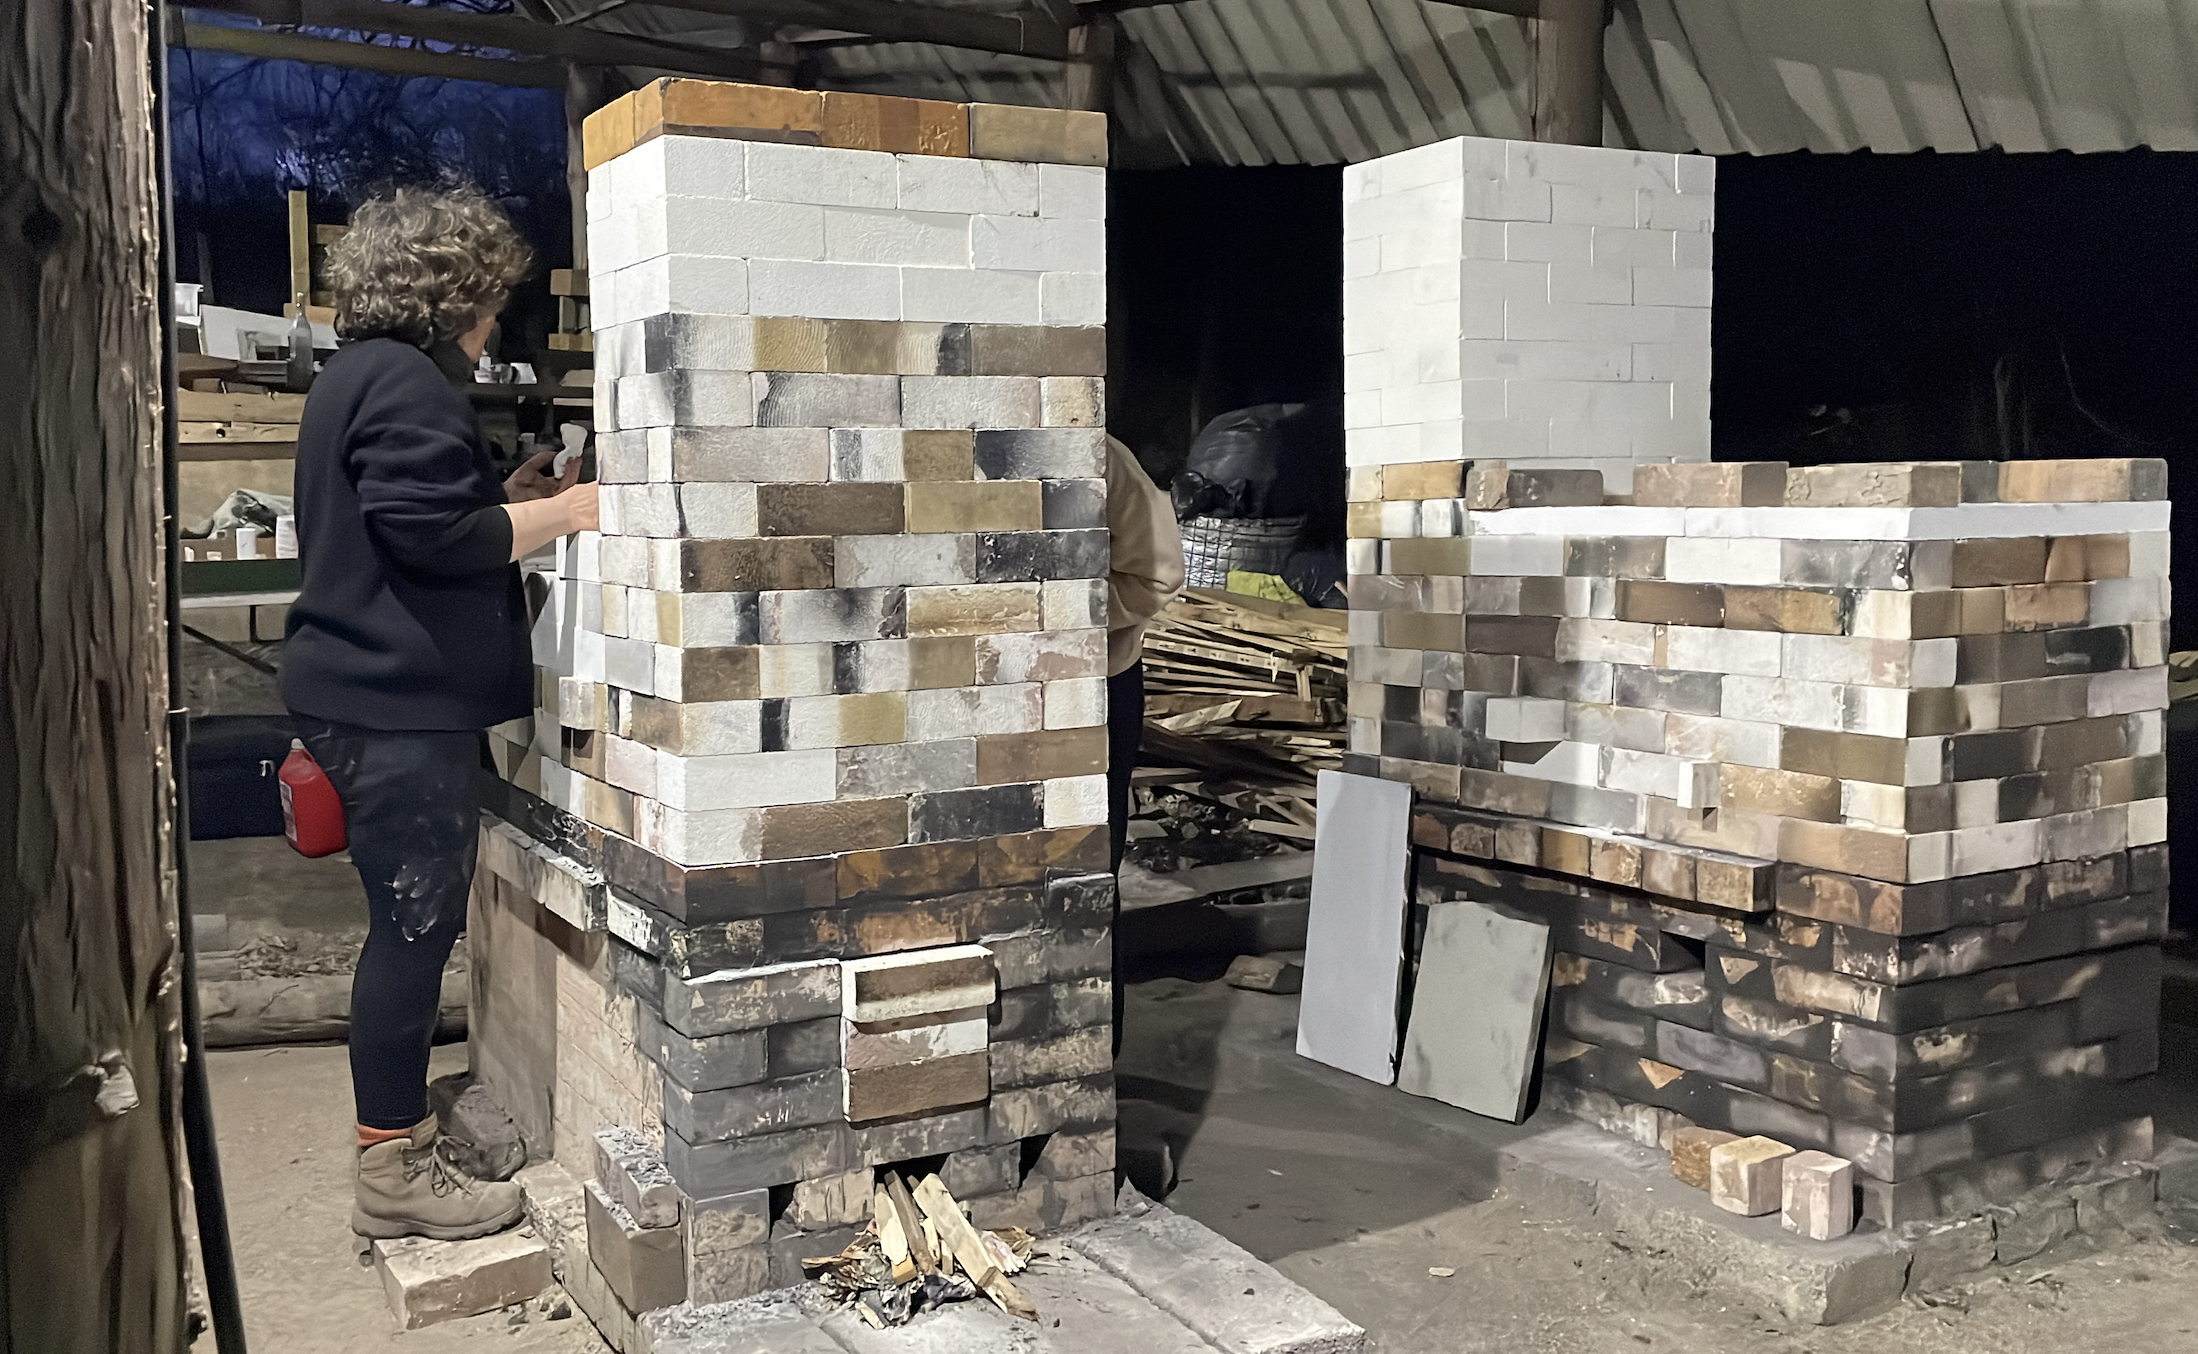
Once the kilns were dismantled, we set to work rebuilding. My group was made up of 6 - myself, Jack, Dan, Yi-an, Philip and Amy. All very enthusiastic, hardworking, skilled and knowledgable people which made me feel confident in our task. We moved the position and orientation of the kiln so that the two kilns would be facing opposite directions, we considered how this might impact firings and thought that it might encourage groups to be more intuitive when firing these kilns together, as opposed to copying the other kiln’s schedule.
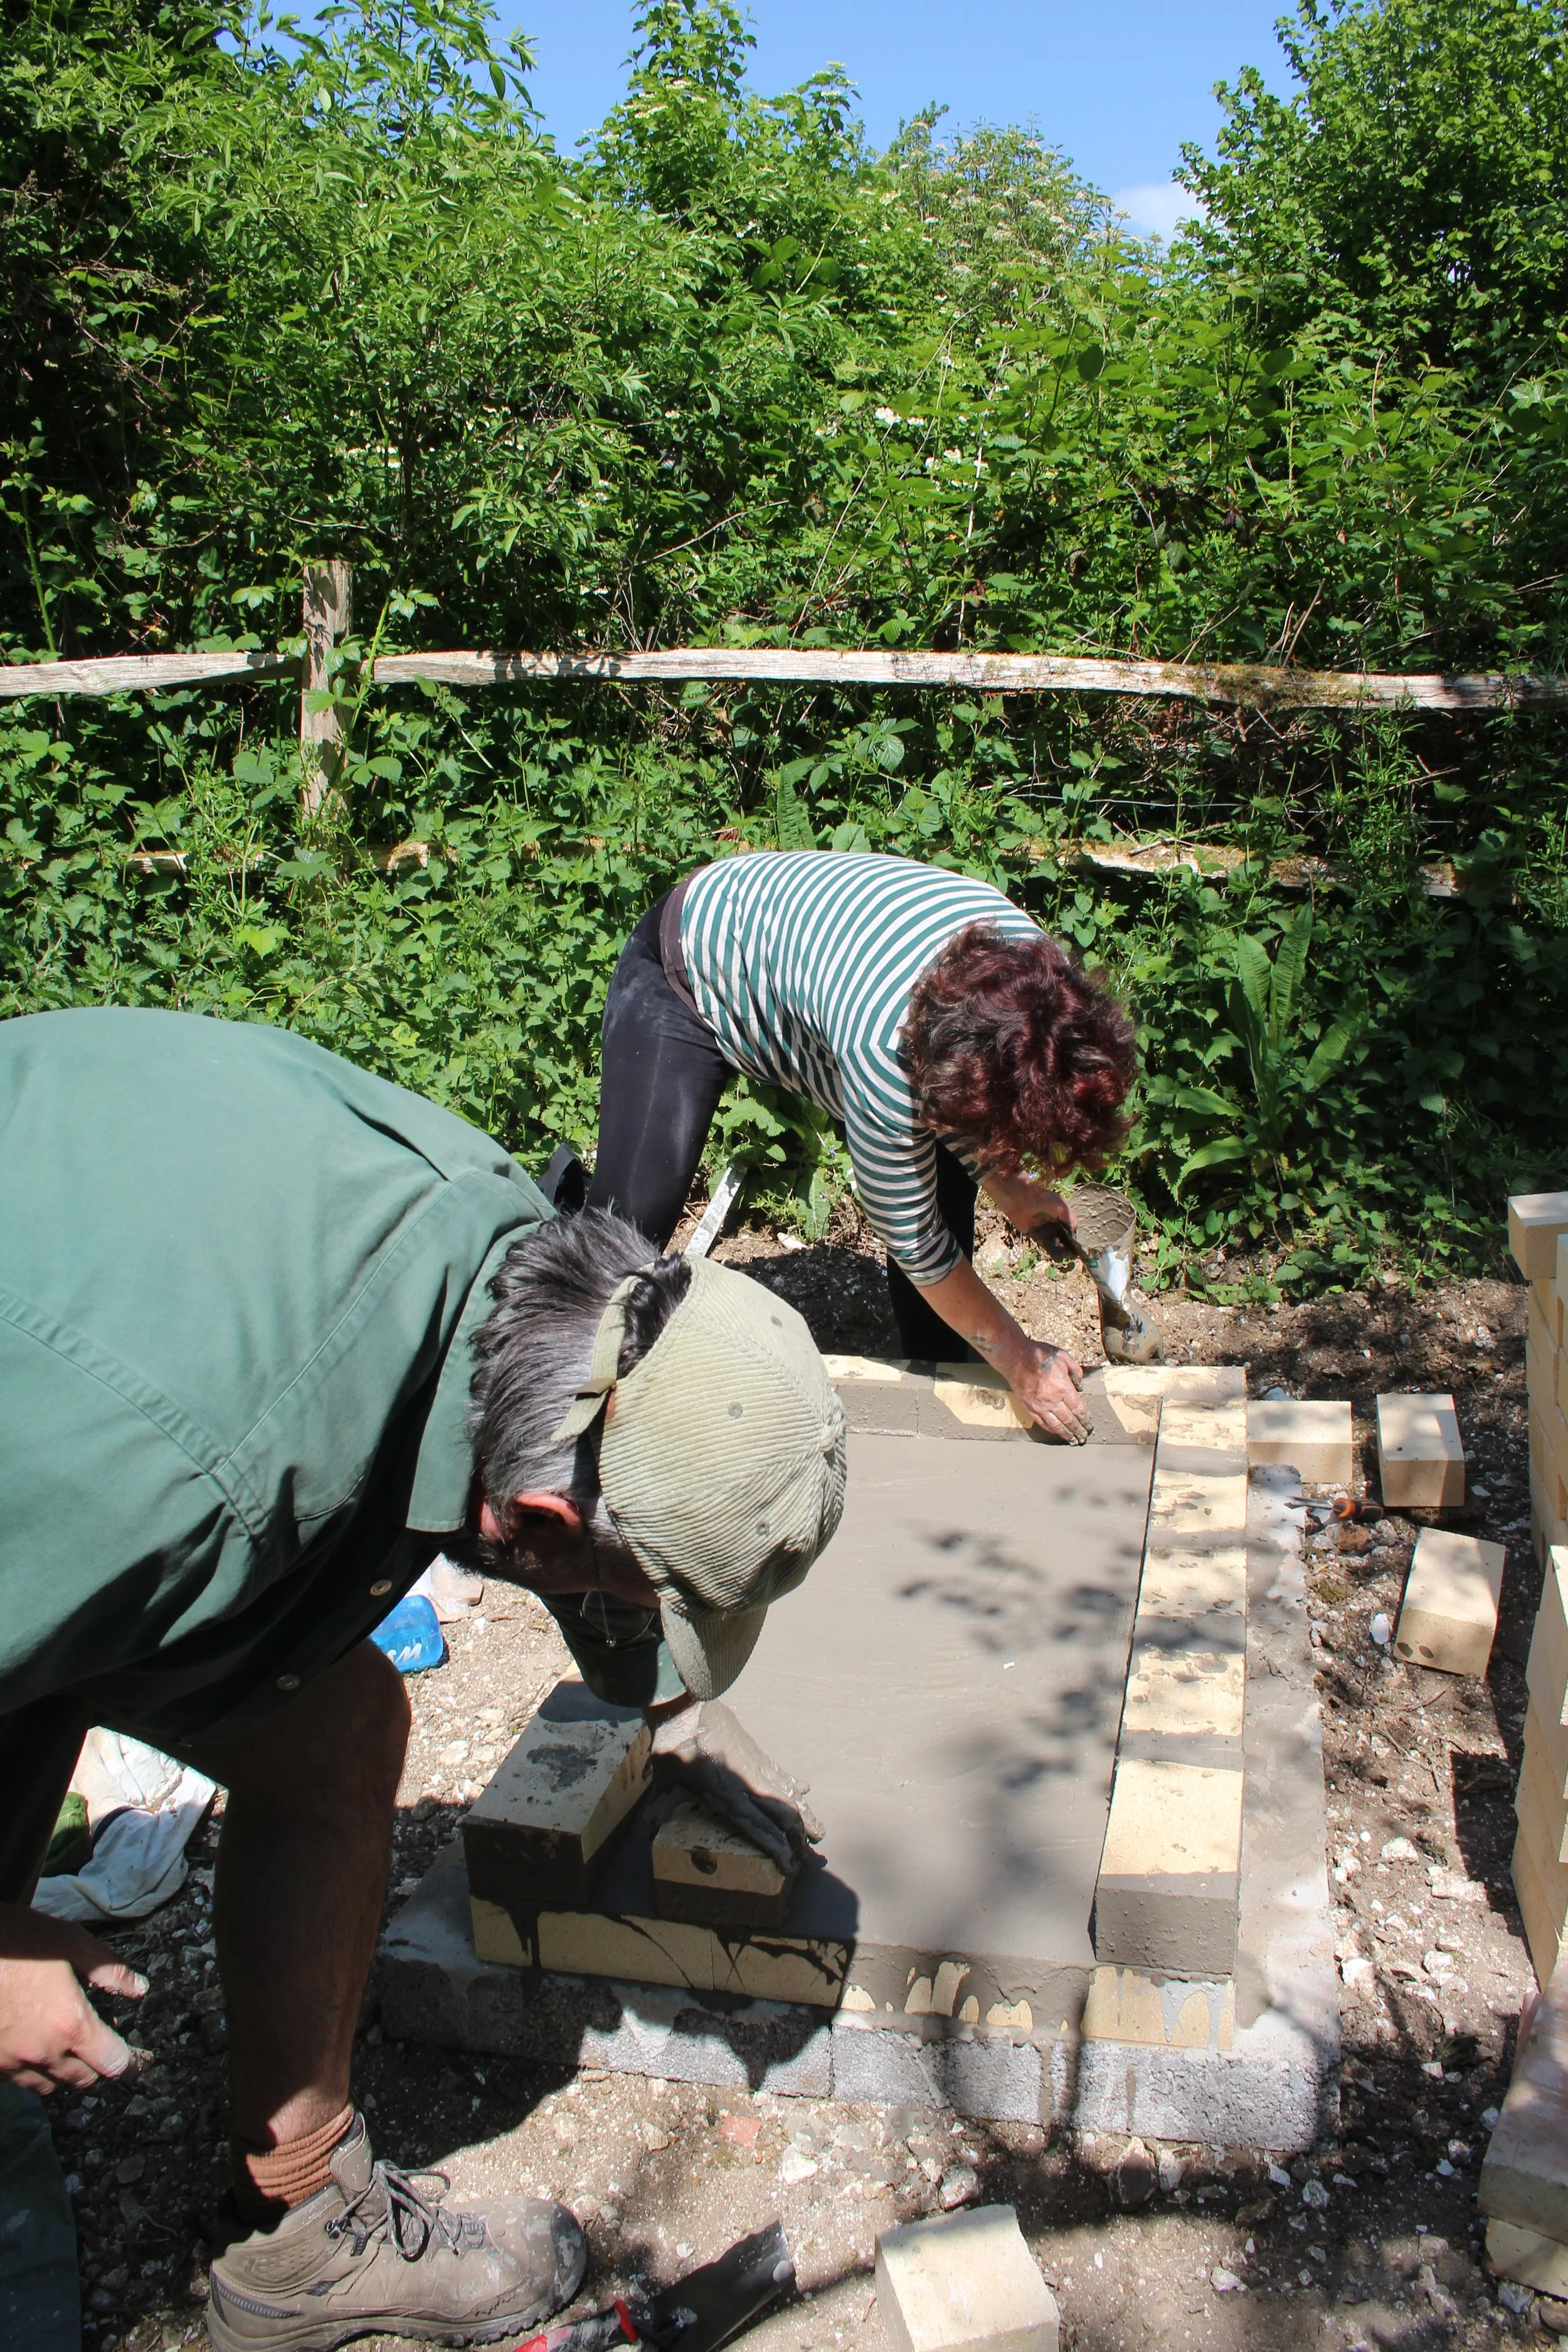
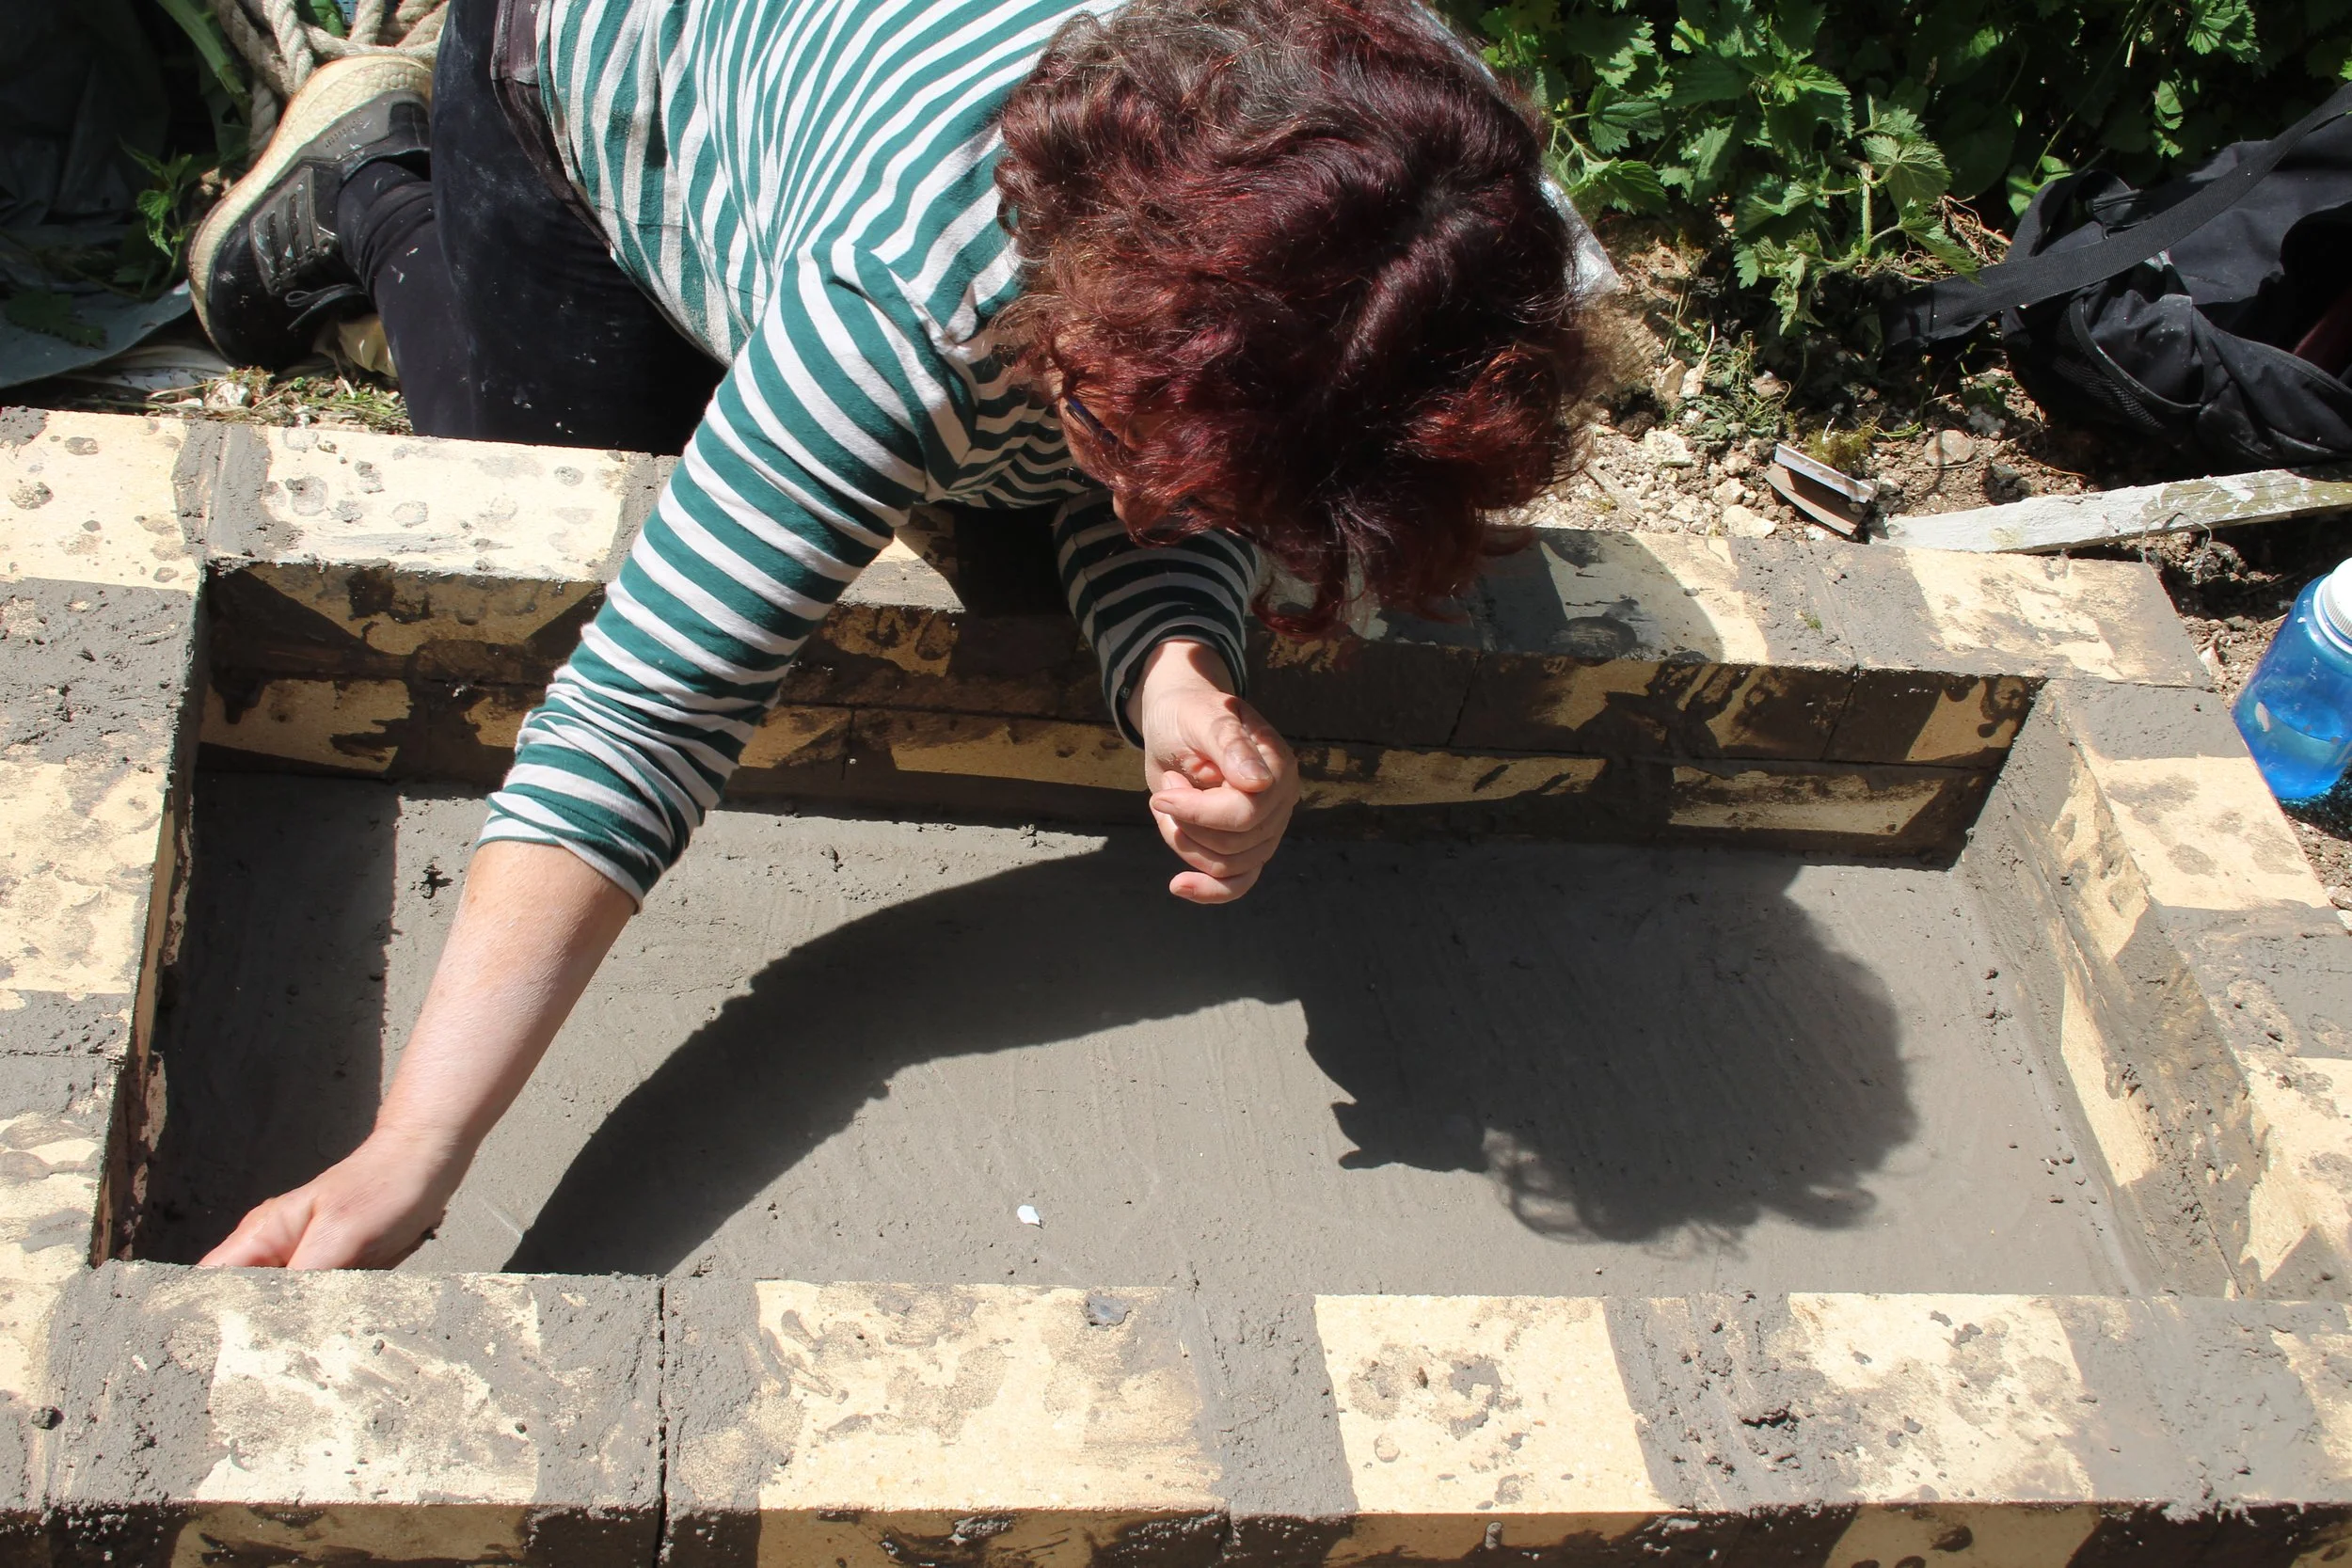
We resurfaced the area so that it was level and laid breeze blocks for the base. Then the first layer of bricks was laid. The structure of the kilns consists of a firebox made of hard refractory bricks, grade 42 or higher, mortared together with a mixture of fireclay and silica sand. Laying these bricks became really satisfying once we developed a rhythm of dipping the brick in water, passing it to the next person to apply a layer of mortar and then passing it to the next person who would lay and tap it into place.
At one point, Ekta came along and advised up to straighten up the walls of our firebox, which from her angle she could see were a little bowed. Once the firebox was built, we then proceeded to add kilns shelves for the floor of the ware chamber (or roof of firebox) and then began the layer of soft bricks. We had a few calculations and adjustments to make when it came to the chimney, as the kiln shelves added extra height which we then had to cut off from the support bricks. We also had to make sure that the flue was large enough, as the previous kiln had a slightly smaller flue and was reportedly harder to fire. Additional design element we included were two extra mouse holes towards the back of the kiln and a hole to introduce ash via a ‘glitterspritzl’.
And that was it! Once the chimney was built, we simply had to add the thermocouple, pack the wares and close up the kiln the ceramic fibreboard lid. It took us under three days to fully dismantle and rebuild the kilns, and so the only thing left to do was fire them.
Our group decided that we wanted lots of reduction and lots of ash in our firing. As this was only my seconds wood firing experience, I should have felt less confident but something about having built the kiln ourselves put me at ease. Plus, we were in the presence of the fantastic Claude, who is overflowing with valuable knowledge and has a incredibly relaxed attitude to the whole process which can only be acquired through vast amount of experience.
The firing was successful, we used a lot less wood than we had anticipated and we were able to unpack the results the next day,
Studio Visit: Aiden Canaday
During my stay in Oxford, I had the pleasure of visiting friend and fellow potter, Aiden Canaday. Aiden and I met many years ago through the music scene, he was and still is a promoter putting on excellent shows under the moniker Divine Schism and I was in the one of the bands he put on a gig for.
Shortly after we were introduced, Aiden turned to me and said “you pot, don’t you?” which turned into a lengthy conversation about clay and making and ever since then we have been pals and mutual appreciators or each others’ creations.
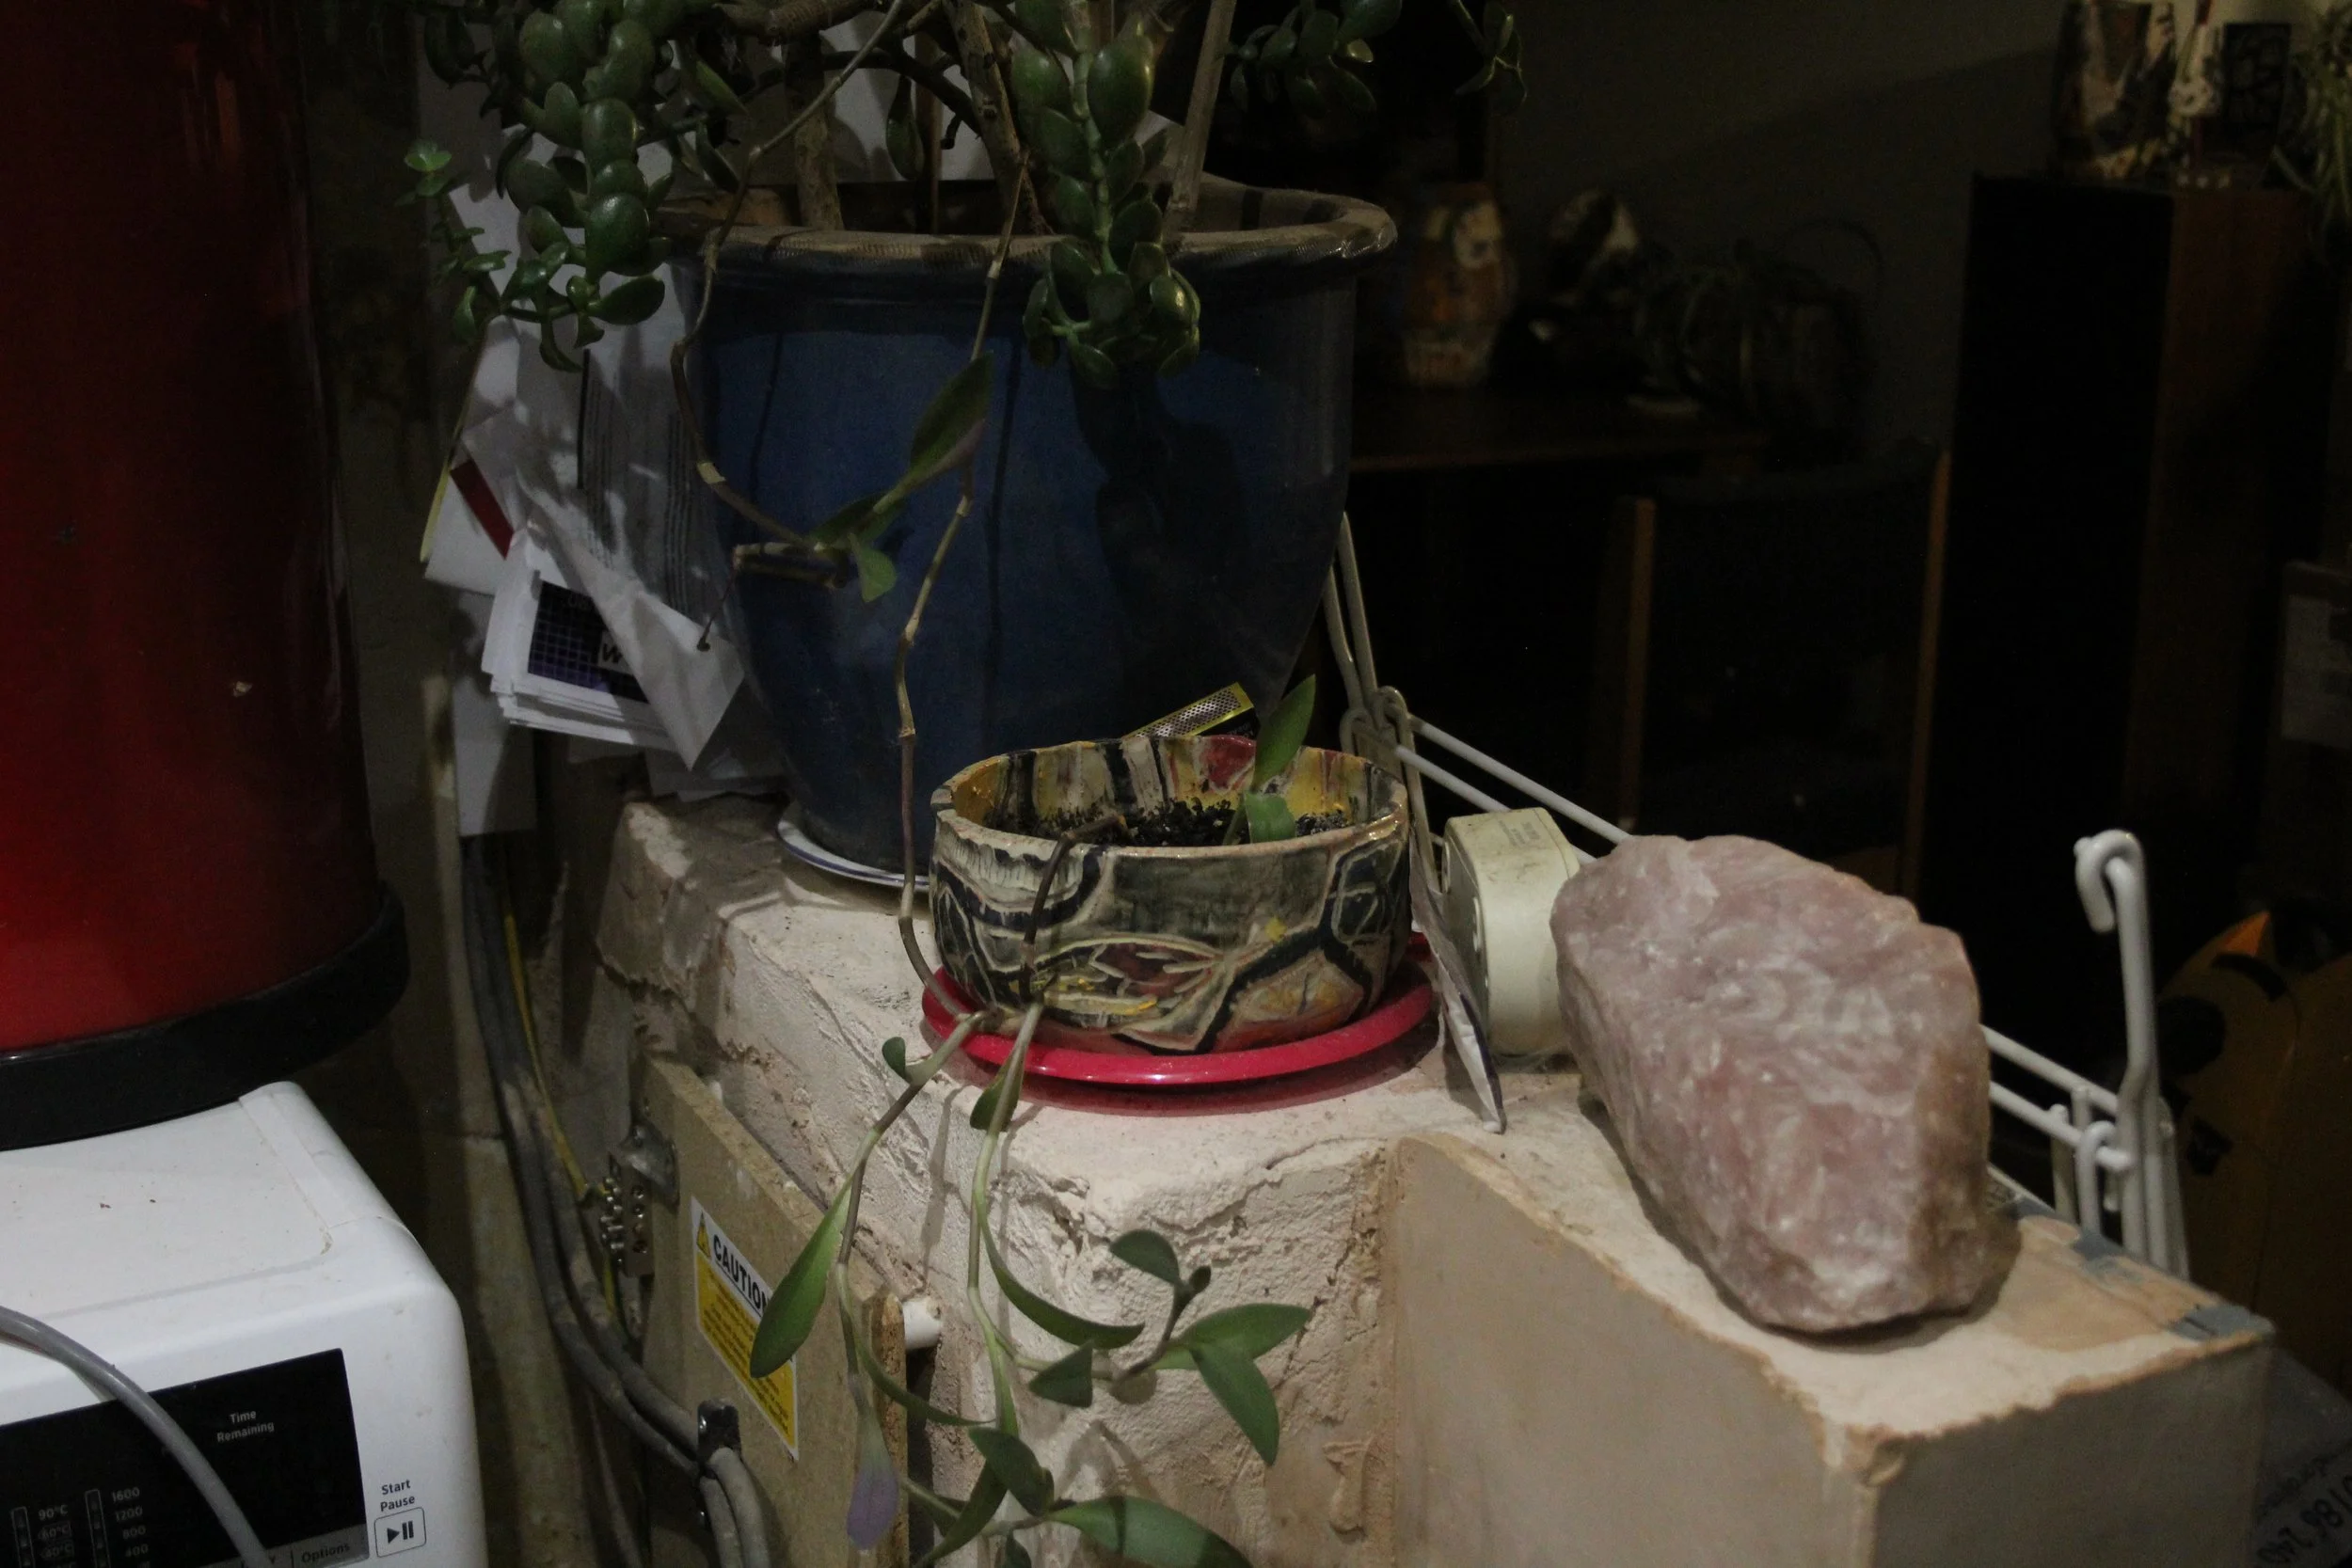
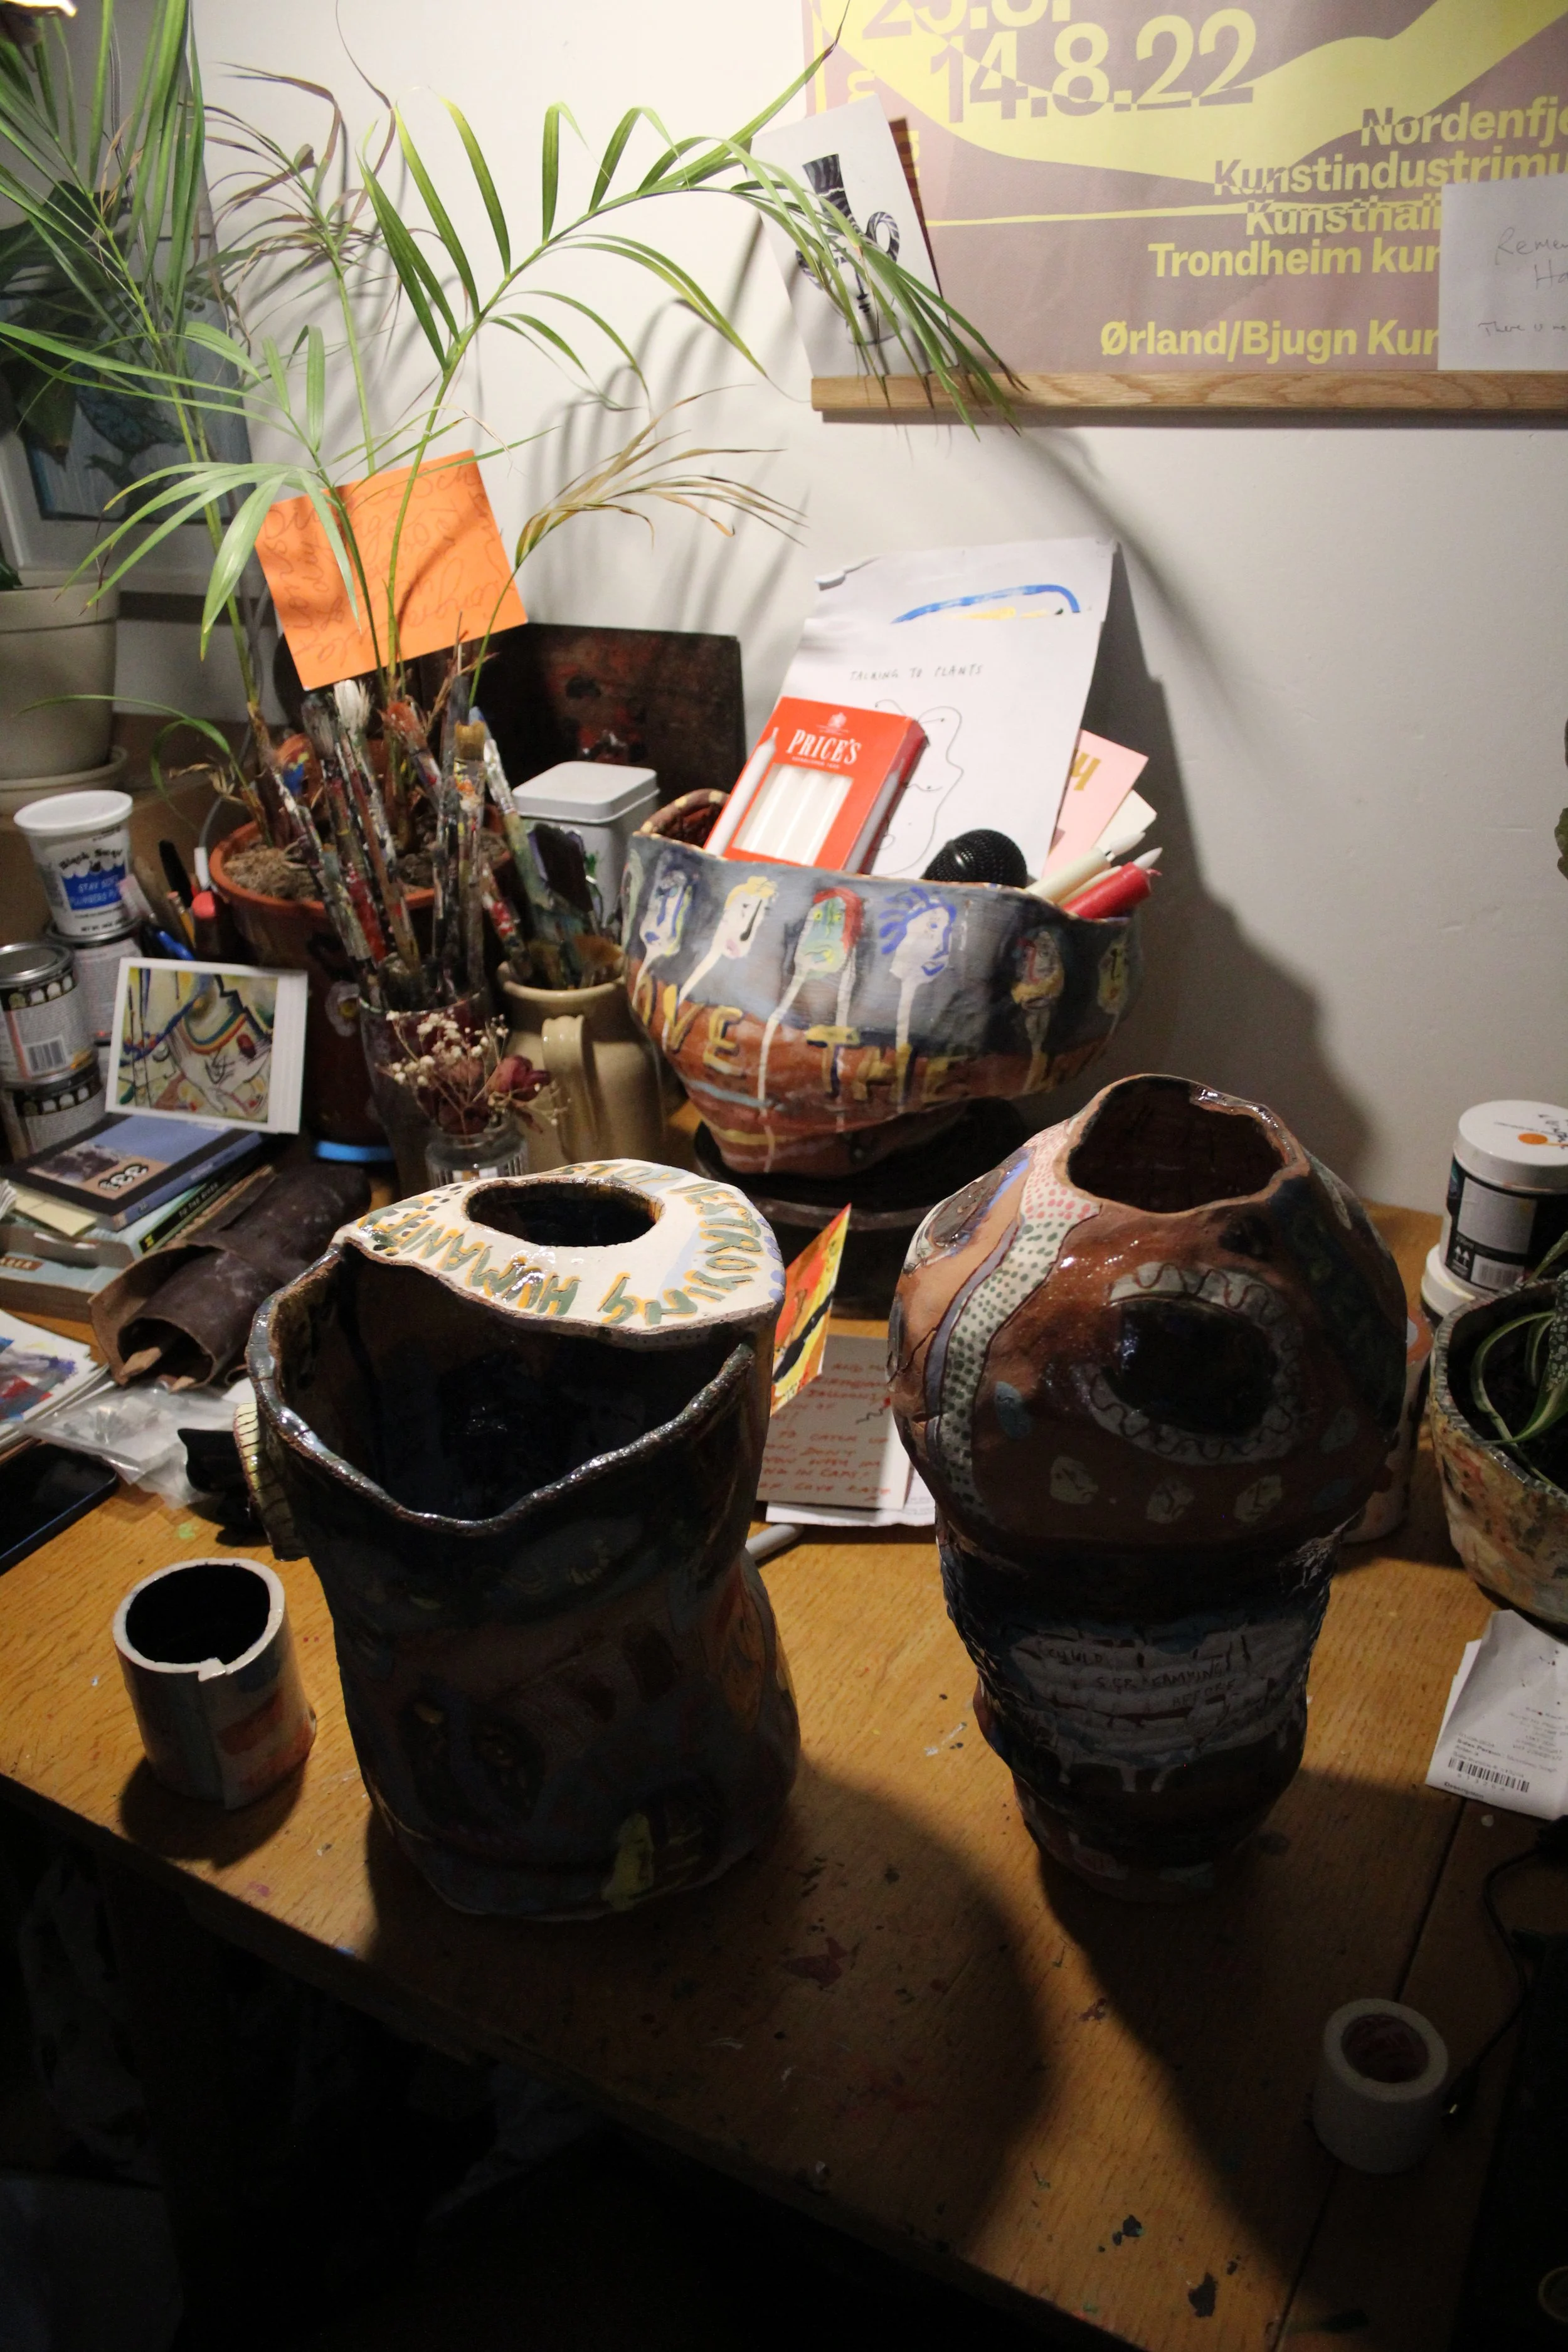
I love Aiden’s work. He makes hand built earthenware pieces; decorated with colourful slip, carved figures, fragmented faces and pieces of poems. They embody a fluidity and freedom I find hard to achieve in my own work. What I also like about Aiden’s pots is that they feel like they come from the same exact world as everything else he does. His home (and for the purpose of this blog post, studio) is a personal gallery for pots, posters and paintings.
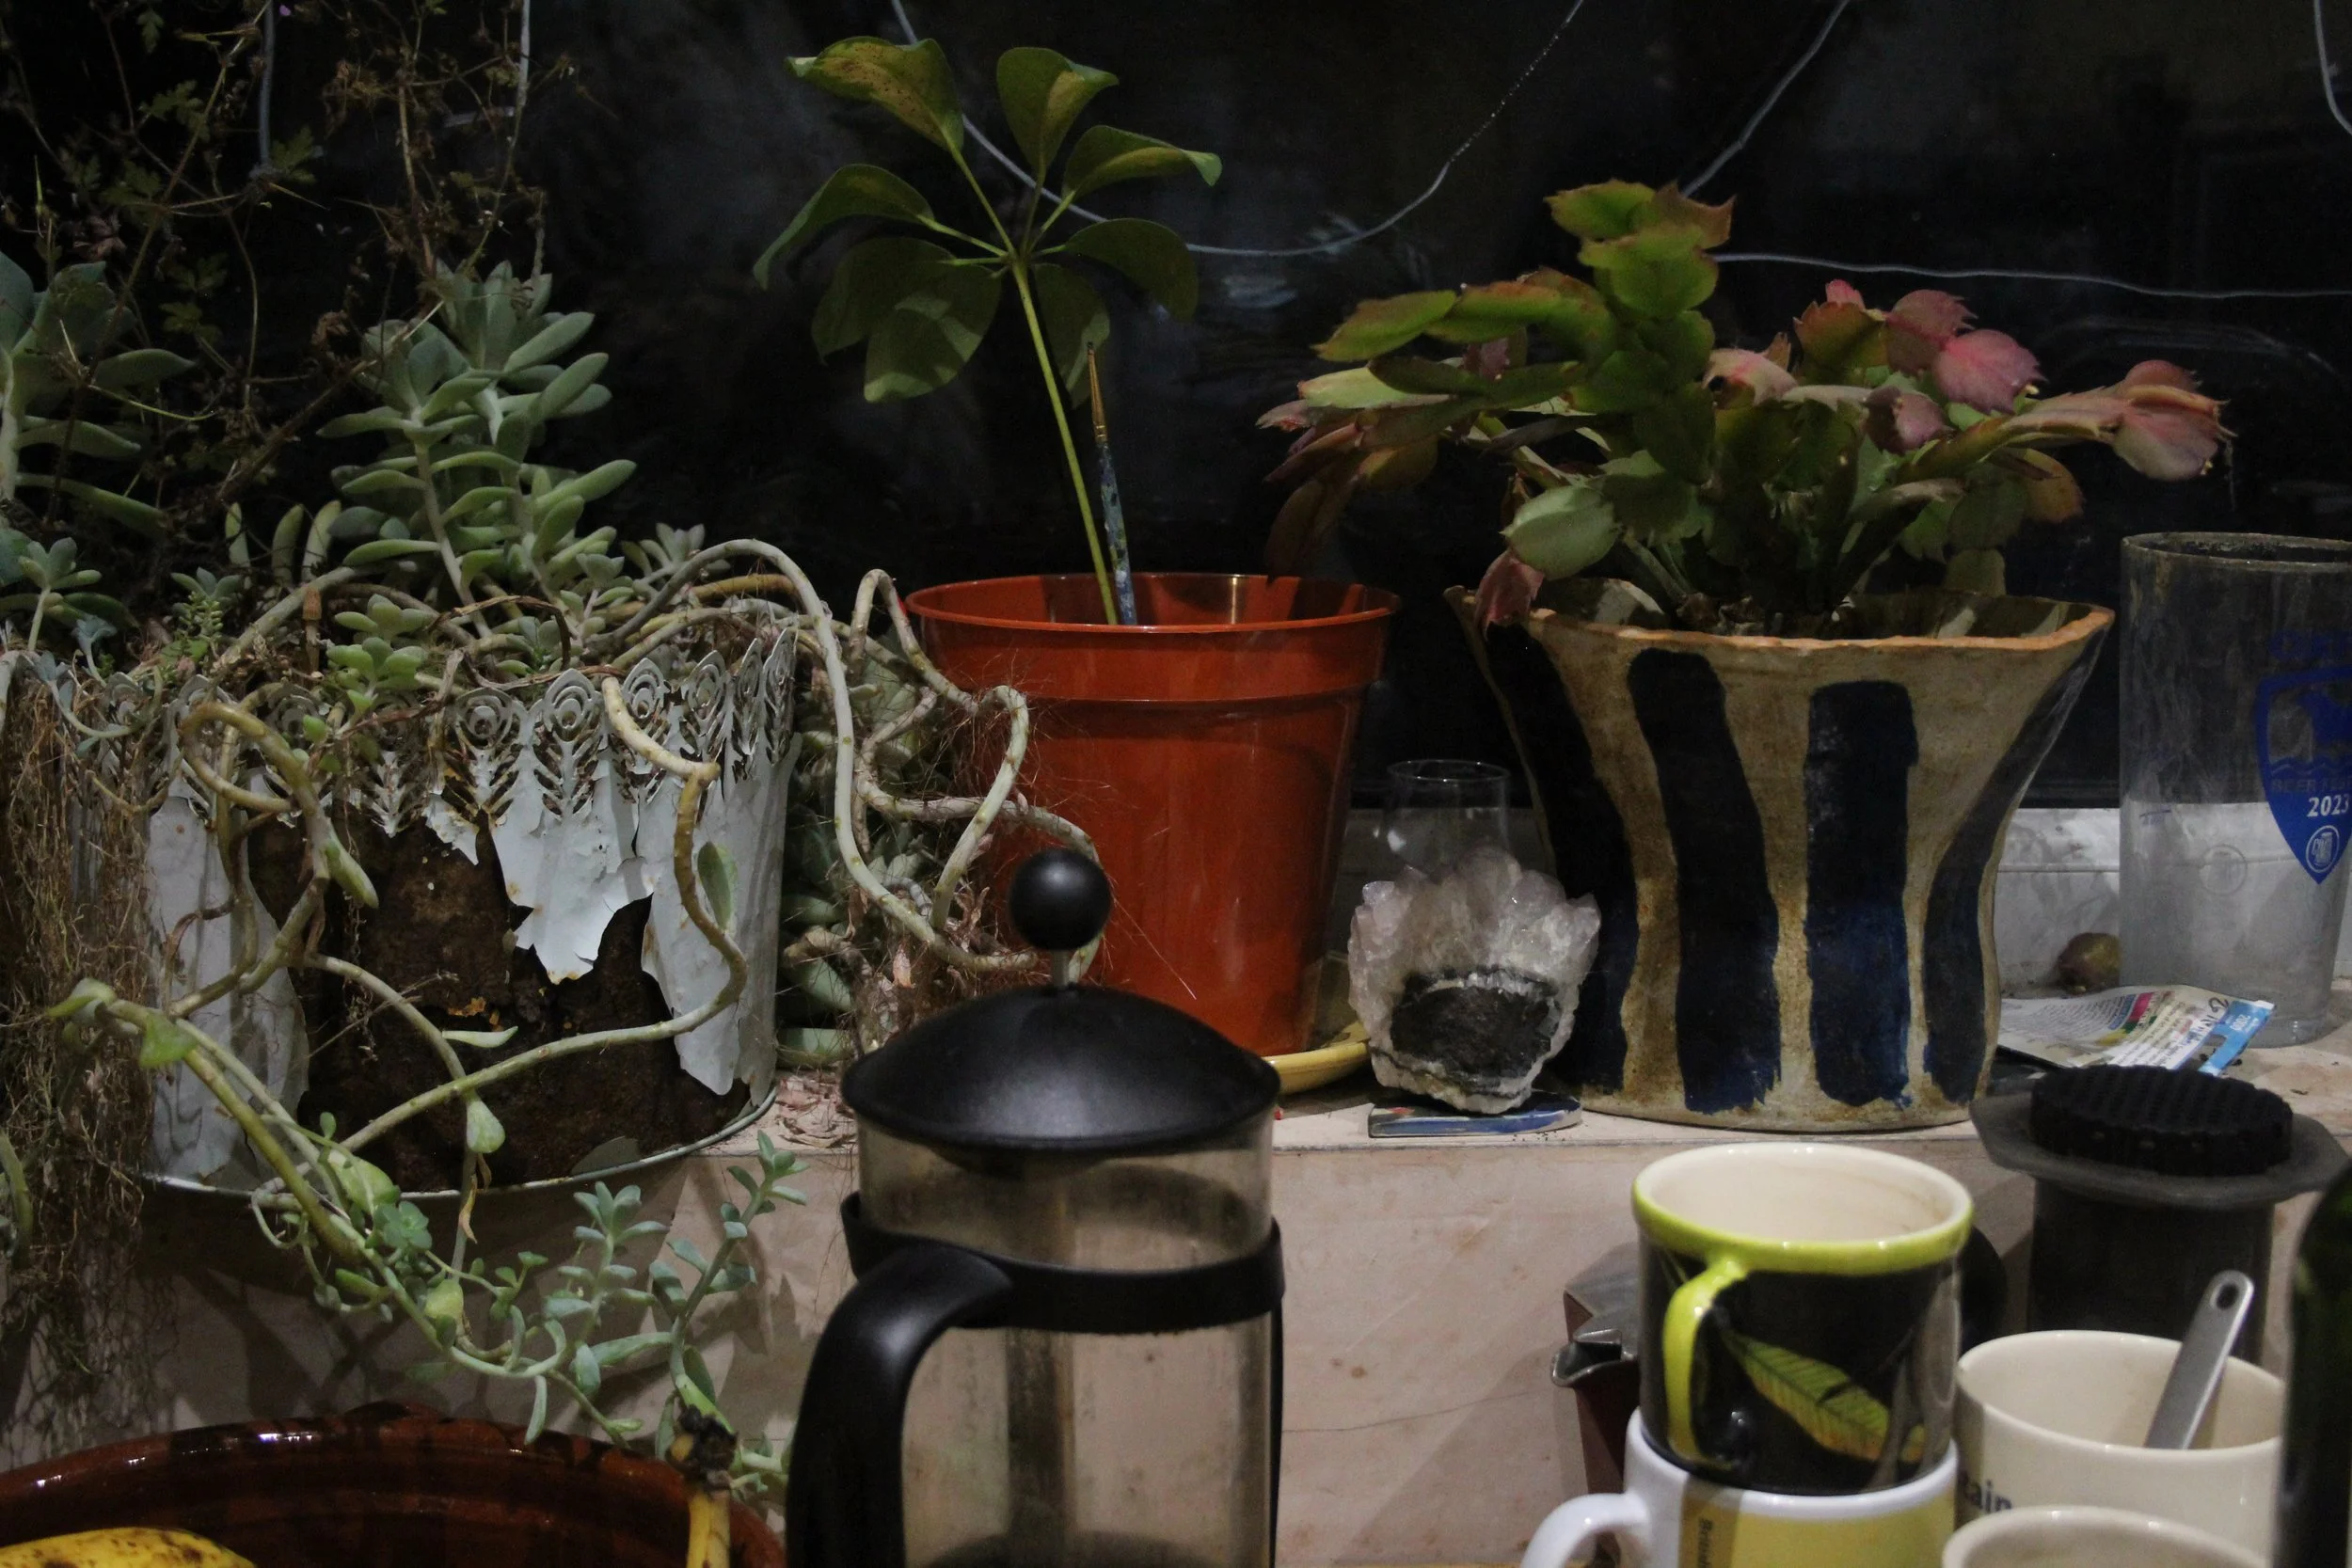
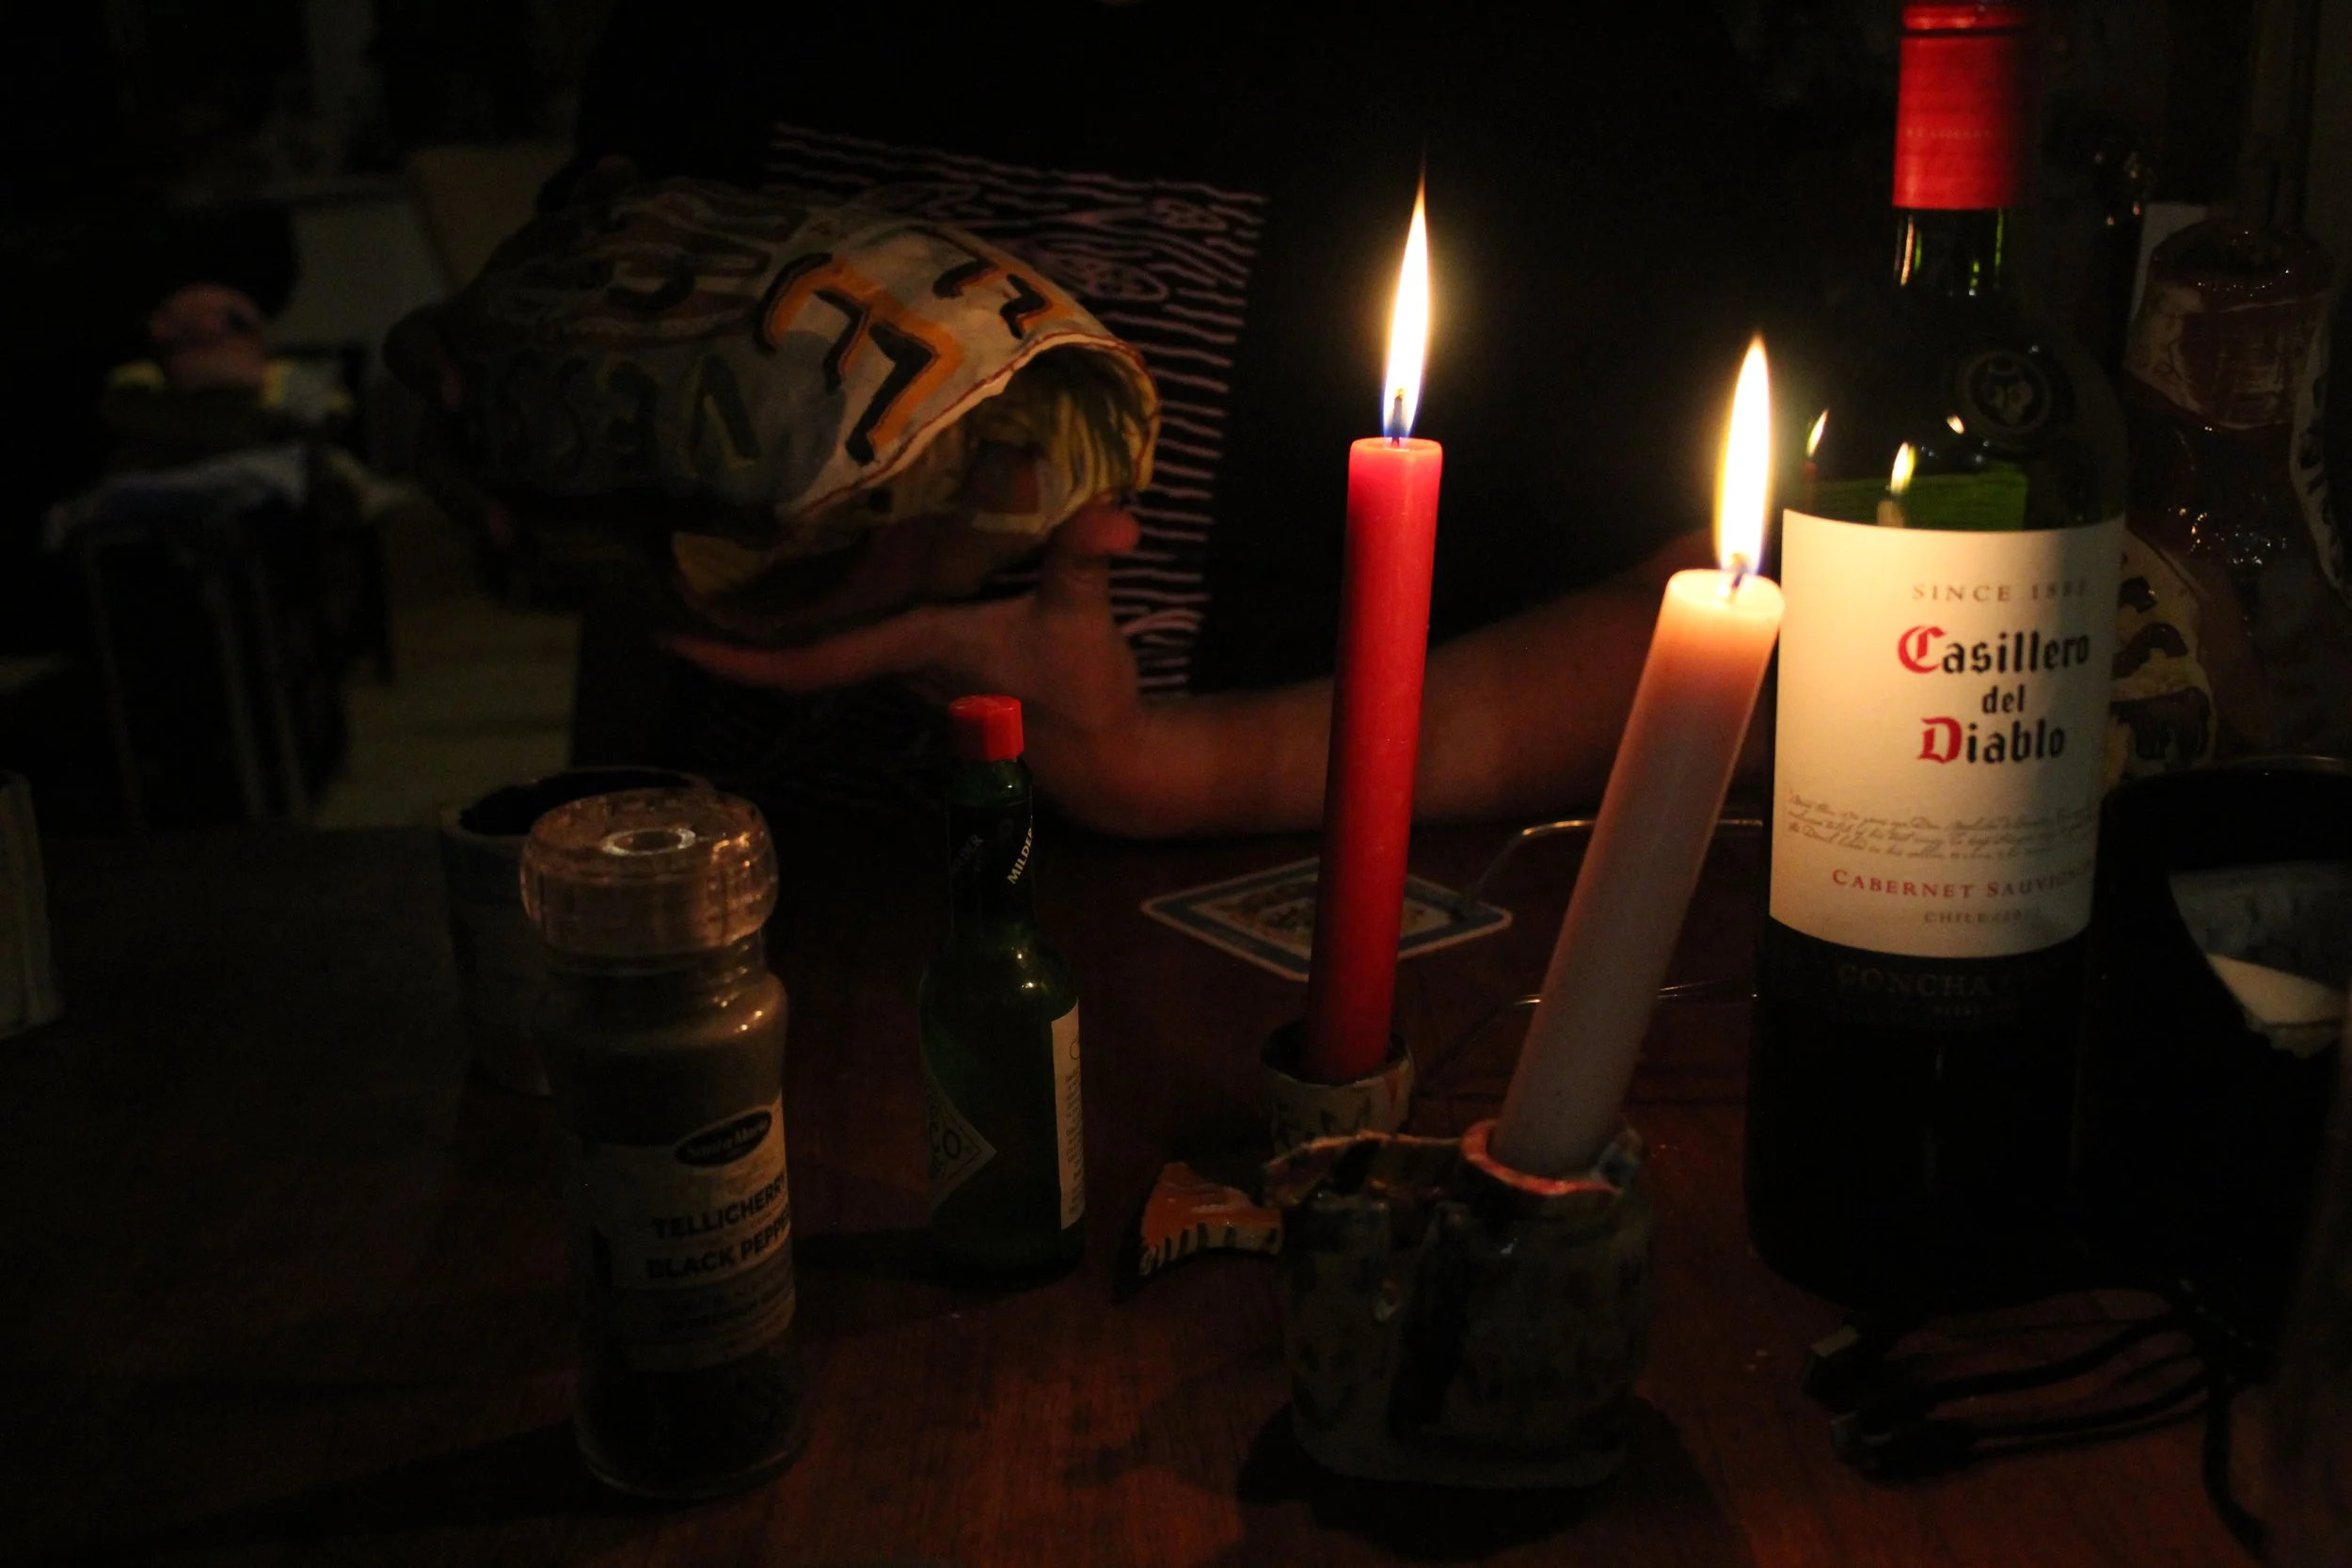
We ate a delicious meal and had a great catch up so the photos I took do not really do his work justice, as it was evening and dark, so please forgive me and give his work a proper peruse via his instagram.
Wood Firing in Wytham
In September 2024 I attended a wood firing course lead by renowned potter Svend Bayer at the Oxford University Kiln site, run by Dr. Robin Wilson. I had been wanting to fire in a wood kiln for so long and to finally have the opportunity (thanks to my Arts Council DYCP grant) was incredibly exciting.
I drove down from Manchester at around 5:30- 6am in order to be in Oxford on time for 10am. I was incredibly nervous. As it turned out, the site was to be much busier than usual as there was a second group ( The London Potters) firing the anagama simultaneously. Our group (The Svend Bayer group) all gathered in the car park, and so I became acquainted with the 9 other potters I would be spending the week firing with. All of them were so warm and friendly, and I was instantly at ease.
I wrote a brief diary whilst on site, which I will attempt to flesh out with a bit of further information and recollection.
Day 1 : Preparing pots, glazing and beginning to load. Group SB comprises of Jenny, Sami, Kath, Wendy, Doug, Manju, Jack, Clare, Miya and myself.
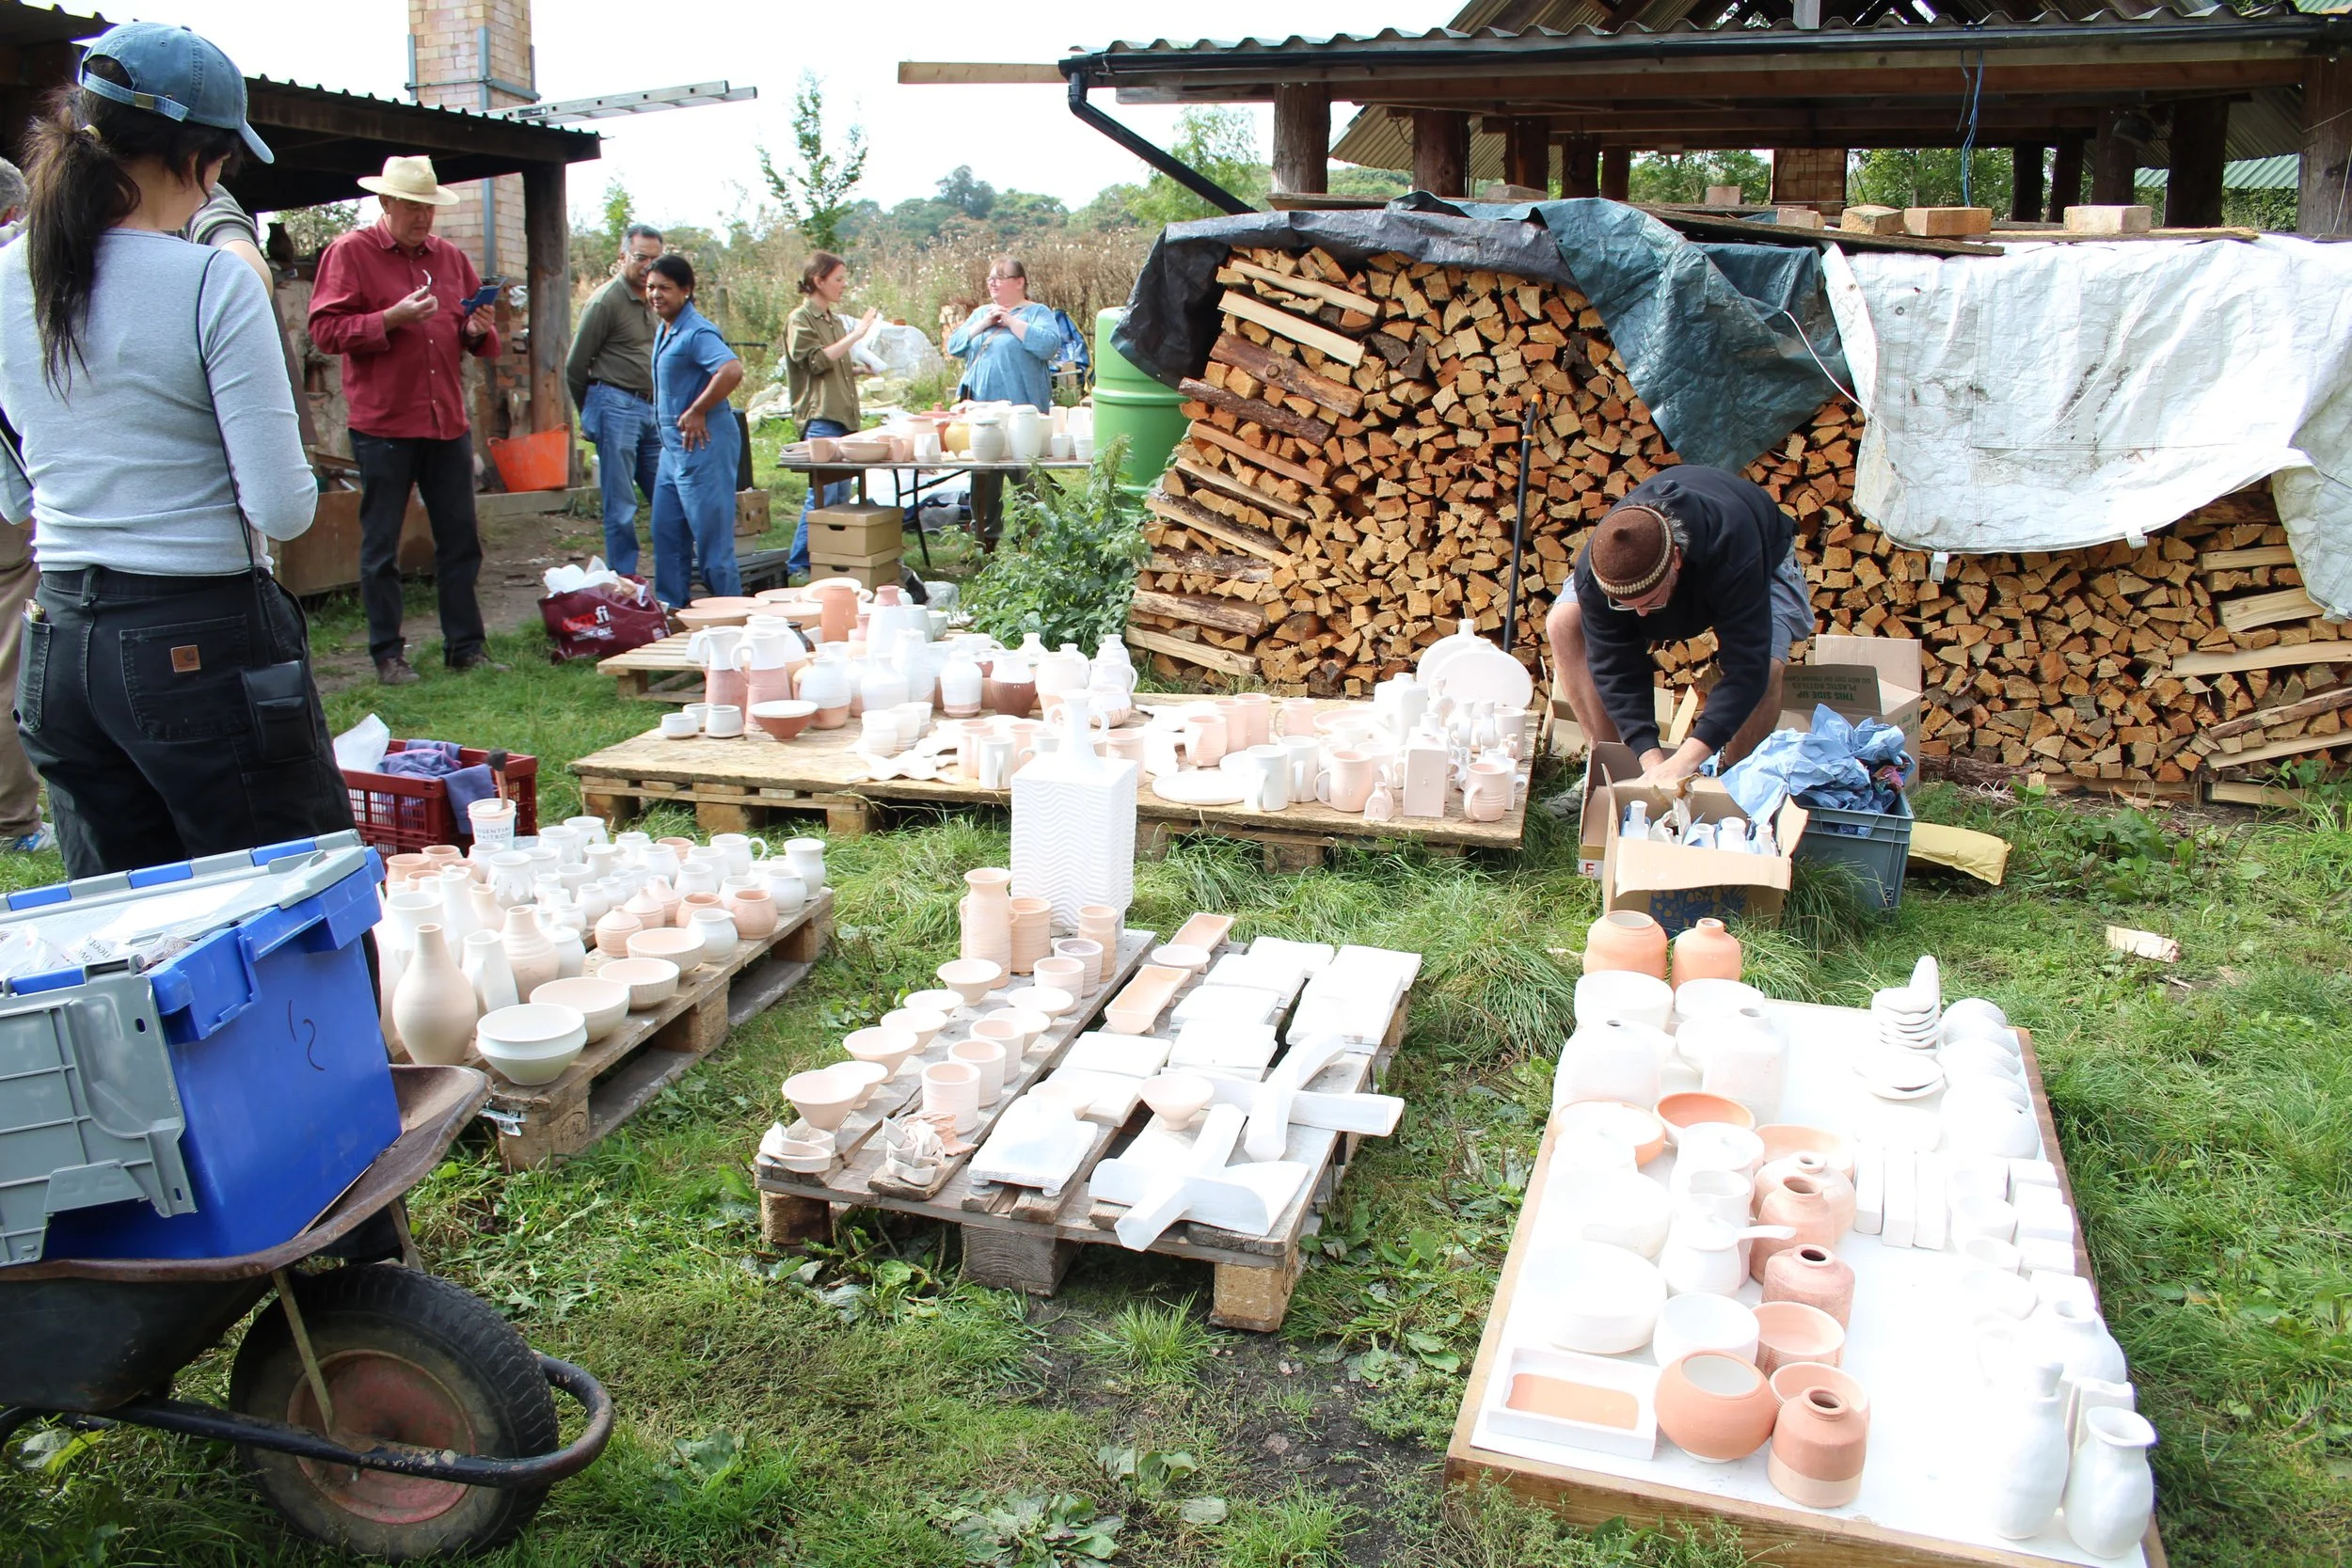
Organising the pots into sizes takes a surprisingly long time, We arrange and re-arrange. We glaze the pots in my Shino and 2 mystery glazes, one of which we think is a celadon (turns out not to be at all!).
Svend and Brigitte start making the wadding (50% fireclay, 50% sand). There is also the stacking and arranging of wood, which Svend is quite particular about. The wood pile is very neat and tightly packed. The wheelbarrow sees a lot of action.
In the afternoon, loading begins with Sami and Doug. Miya makes 6 x cones with wadding to be placed along the kiln so they can be seen through the stoke holes.
Day 2: Loading continues. Saggars are placed in the back filled with Mare’s Tail - a plant that is high in silica. We load and wad, I sprinkle some wood as inside a dish and on the wings of my wall vase. We debate over whether all the pots will fit. The kiln is a medieval, Thai-style; built by Svend. It’s a very attractive, bug-like shape and has clearly been lovingly constructed.
We try to trade pieces with the London Potters who are firing in the slightly smaller anagama, but they end up returning some of the pieces as they won’t fit in. The London Potters are loading up their kiln and also intend to fire the two small fast fire kilns that are on site.
Whilst the loading takes place (Brigtitte at the helm), Robin demonstrate the wood splitter, which is a frighteningly powerful piece of machinery that could easily snap a limb if one were not cautious. Luckily, everyone is safety conscious. We chop and stack enormous amounts of wood.
Jenny and i go to the supermarket and in the evening I cook my famous low-effort, chickpea pasta. It is a dish more than the sum of its parts - the ingredients being just chickpeas, pasta, tomato puree, garlic and rosemary. Everyone seems to like it or at least pretends to, which is nice.
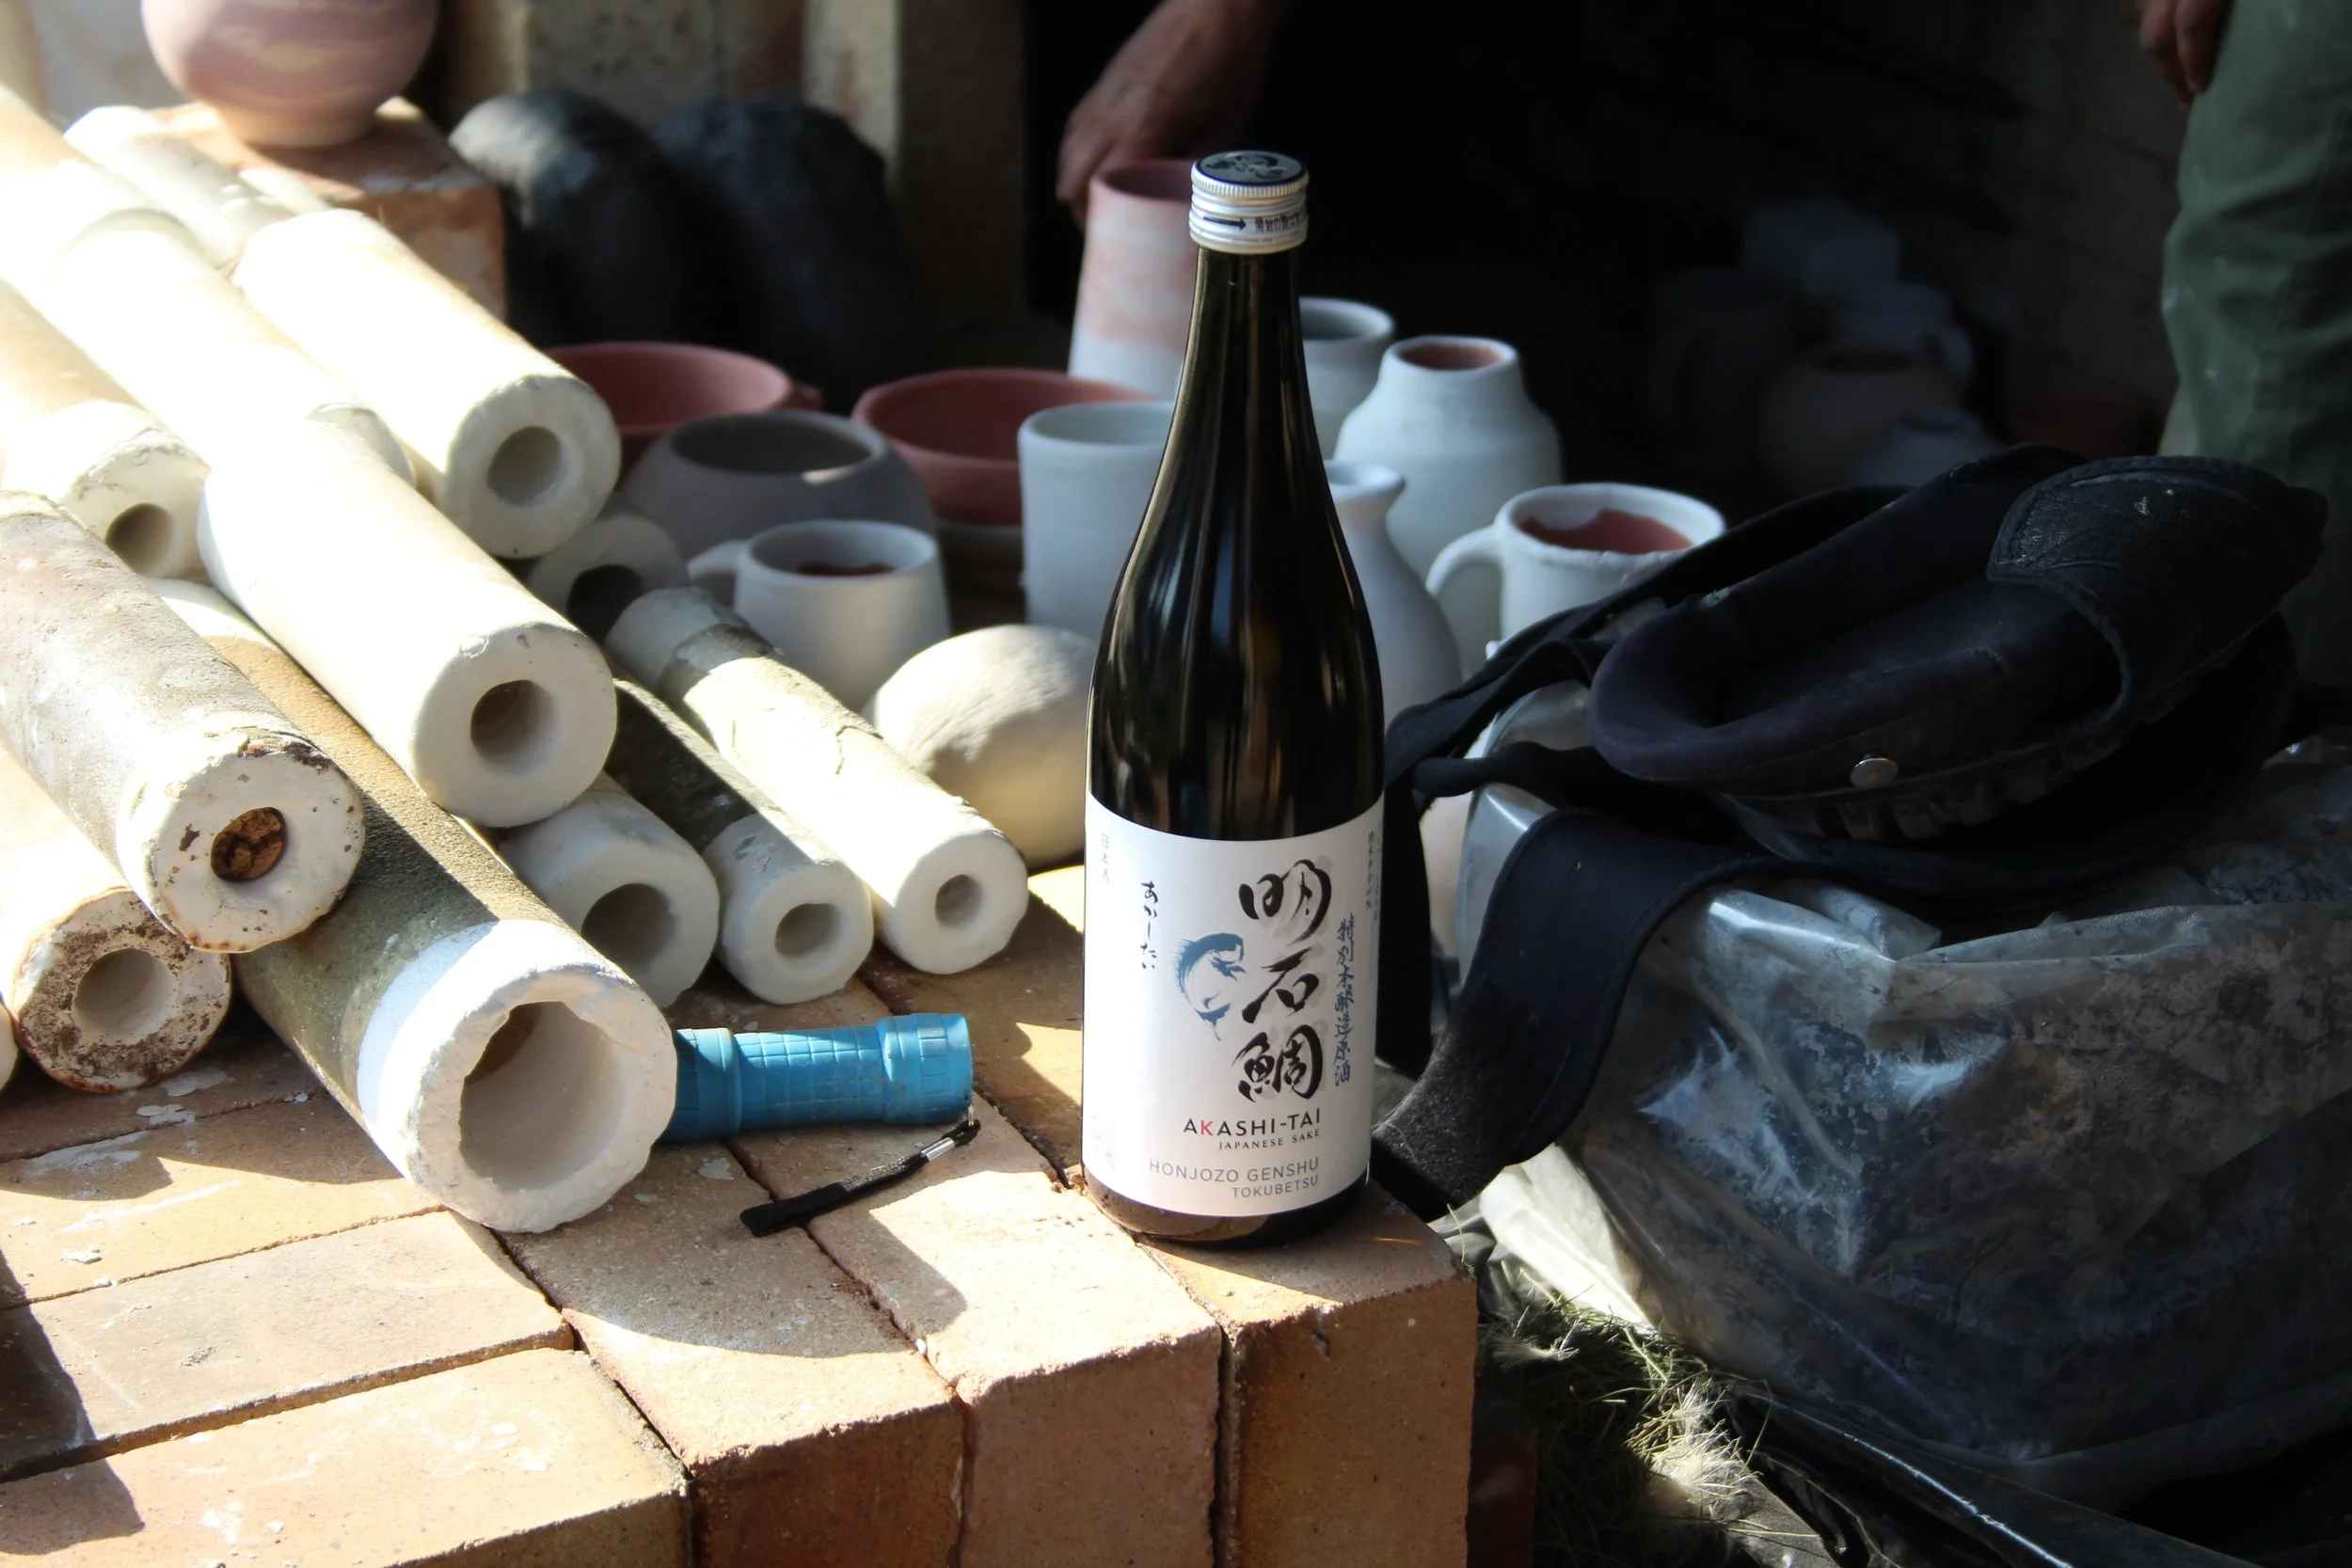
After dinner, we pour a small glass of sake and a mound of salt out for the kiln god. We raise a glass and Svend starts a small fire at the front of the kiln. Two large logs stand behind, guarding the pots. My big witch bottle is right in the firebox. I don’t enjoy the taste of sake, unsurprising as I don’t drink much alcohol.
We organise ourselves in groups for the stoking shifts. We are two teams of three and one of four. My team is Miya and Jack and our shift is the most dramatic one - we are stoking between 2pm-6pm and then again at 2am-6am. The chalet group (Wendy, Doug and Kath) are first to start with the 6am - 10am shift.
Day 3 : The firing starts before I wake. The early shift ramps up slowly. I go for a walk with Miya and then stack logs with Jack. We start our shift at 2pm are are nervous about hitting the Quartz Inversion (573°C) - at which point the silica expands (or contracts, if dropping down). We add 2-4 sticks of wood at intervals of 2-7 minutes. We are listening out for the crackle of the fire and nervously watching the pyrometer display the temperature lilting up and down. We are plotting the temp on a graph and we try to stay as close as possible to the curve plotted out by Svend. Ekta comes to check on our progress. We are to push the wood in the firebox back to keep the new wood burning. Ekta tells us it is best to keep the wood flat and parallel to the floor of the kiln. We all get attuned to the rhythm of the kiln. When our shift is over, I stack more wood and Jack goes to pick us up a curry for dinner.
Day 3: We get up for the change over at 1:45am, by which time the kiln is at 900°C. We start reducing the oxygen. A flame appears out of the front bunghole first and then the second. Svend instructs us to watch until the flame disappears, at which. point we are to stoke. This time, we were loading wood into the top door of the firebox.
The door itself is immensely hot, it dangles on a chain and rests on a ledge. We stoke two at a time - with one person steadying the door and one pushing in the wood. Upon seeing the kiln this morning (11:23am), I noticed that the other teams have developed a technqiue of holding a wood block against the door so that your hands don’t touch it (even in gloves it is so very hot). This is named Doug’s Block and it becomes an essential tool in our group firing.
When opening the door, a blast of heat emerges and so we keep our faces covered with fabric. Black smoke appears occasionally after stoking because the rush of oxygen burns off the fuel.
Our afternoon shifts begins at 2pm and the kiln is staying at 1100°C but need constant stoking to keep the reduction going.
Day 4: The kiln is at around 1120- 1140°C when we start our graveyard shift. The kiln feels very hot but getting it to climb proves difficult. We are very tightly in sync with each other and a probably a little bit delirious. We drink coffee and make jokes and stoke constantly, every couple of minutes. When we’re not stoking, we are moving sticks of wood to prepare for stoking. The time passes so quickly, and by the end of our shift we have only raised the temperature of the kiln by about 20°C.
Svend then comes by to oversee the changeover. He stokes the embers and loads the firebox with sticks. He fiddles with the dampener and for a while, the kiln drops a fair bit of heat but by the time he is finished, it has started to climb once more.
Svend told us to sleep for a couple of hours, until around 8am so that we could be present for the final shift. When we wake up the pyrometer was reading 1250°C! A massive temperature increase in just two hours! From this point on, all of the SB group were present to continue front stoking, watching the cones, watching the pyrometer, and finally, starting to side-stoke.
Svend does a ‘petit train’ or ‘wood lid’ technique - filling the font door completely with wood, letting it burn, then pushing the sticks down and refilling. We keep monitoring the cones, waiting for them to droop. We start stoking the middle side holes to try and raise the temp at the back o the kiln.
The cones are uneven, which Svend says is normal, so we continue stoking and eventually move to the back holes. It is so hot that we have to wear goggles and face coverings. When it is my turn I can feel the sweat instantly form on my chest and my whole torso is slick like a seal.
Unceremoniously, Svend declares the final stoke at about 11:30am and we all cheer for the finishing of the firing.
